Store Settings
Learn how to configure your hosted store's general settings, email notifications, domain, and shipping options
The Settings tab in your hosted store lets you configure important options like your store name, visibility, email notifications, domain, and shipping costs. This guide walks you through each settings section.
Accessing Store Settings
Navigate to Stores
Click Stores in the main navigation sidebar.
Select Your Store
Click on the store you want to configure.
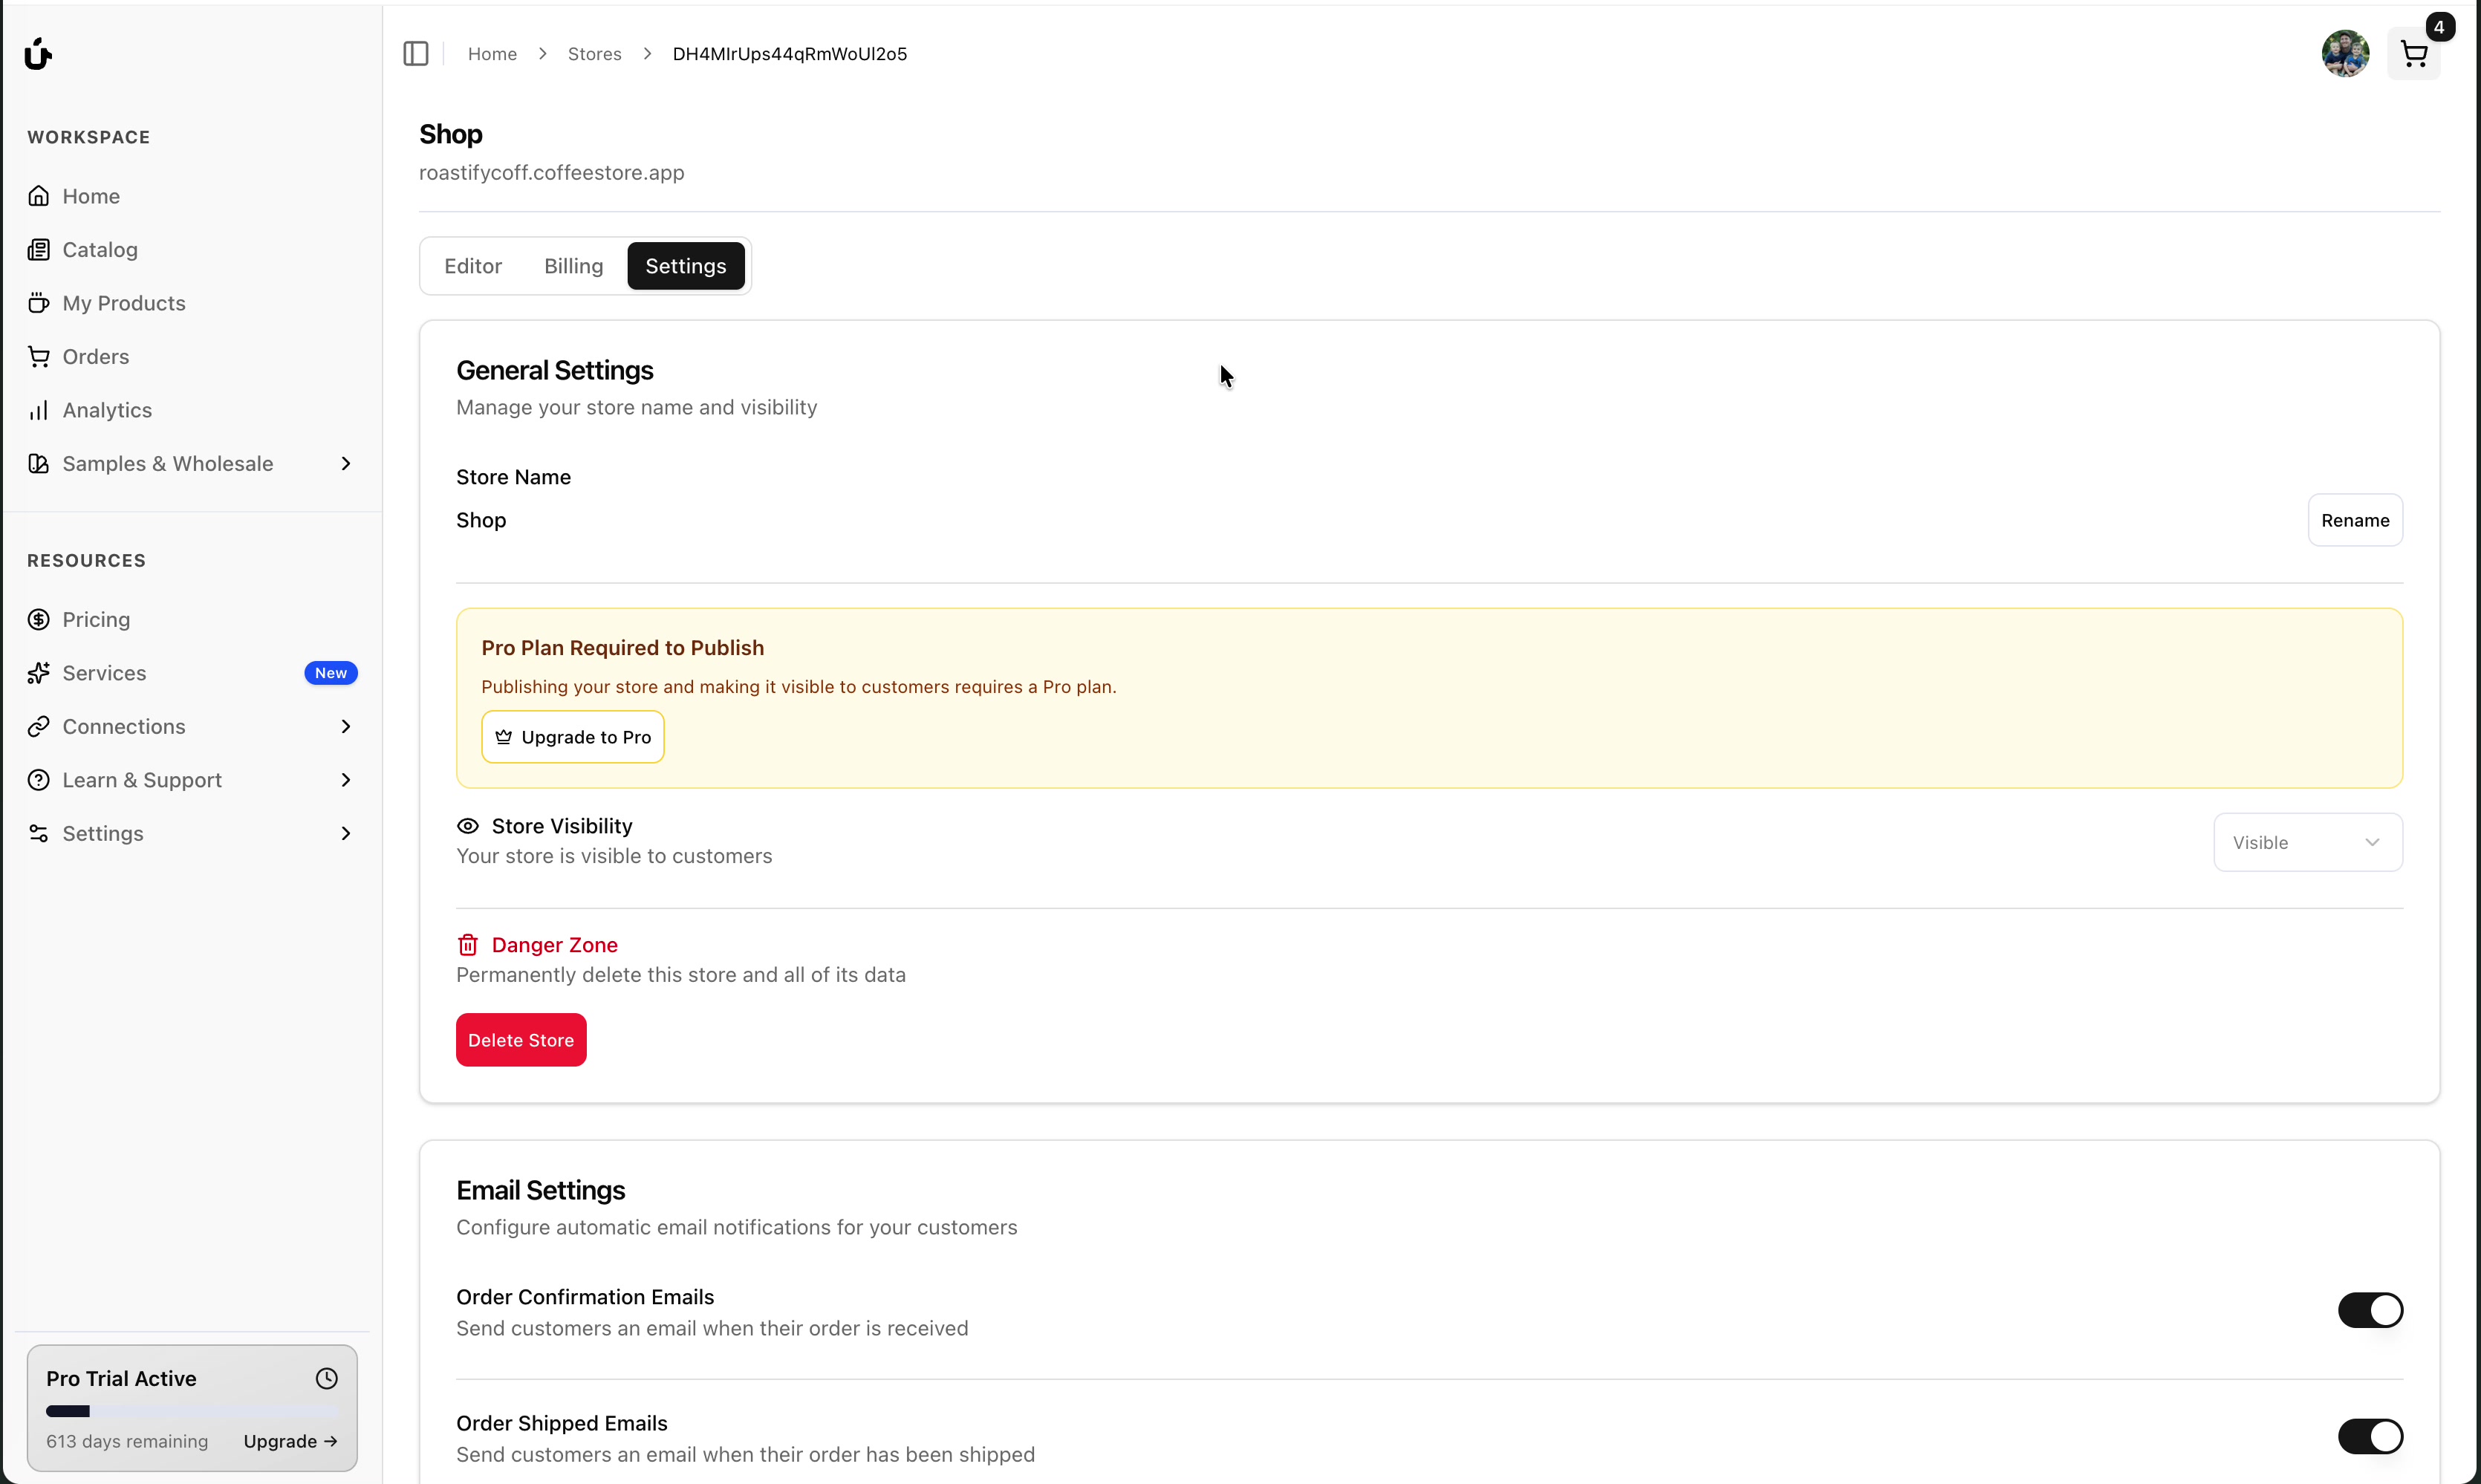
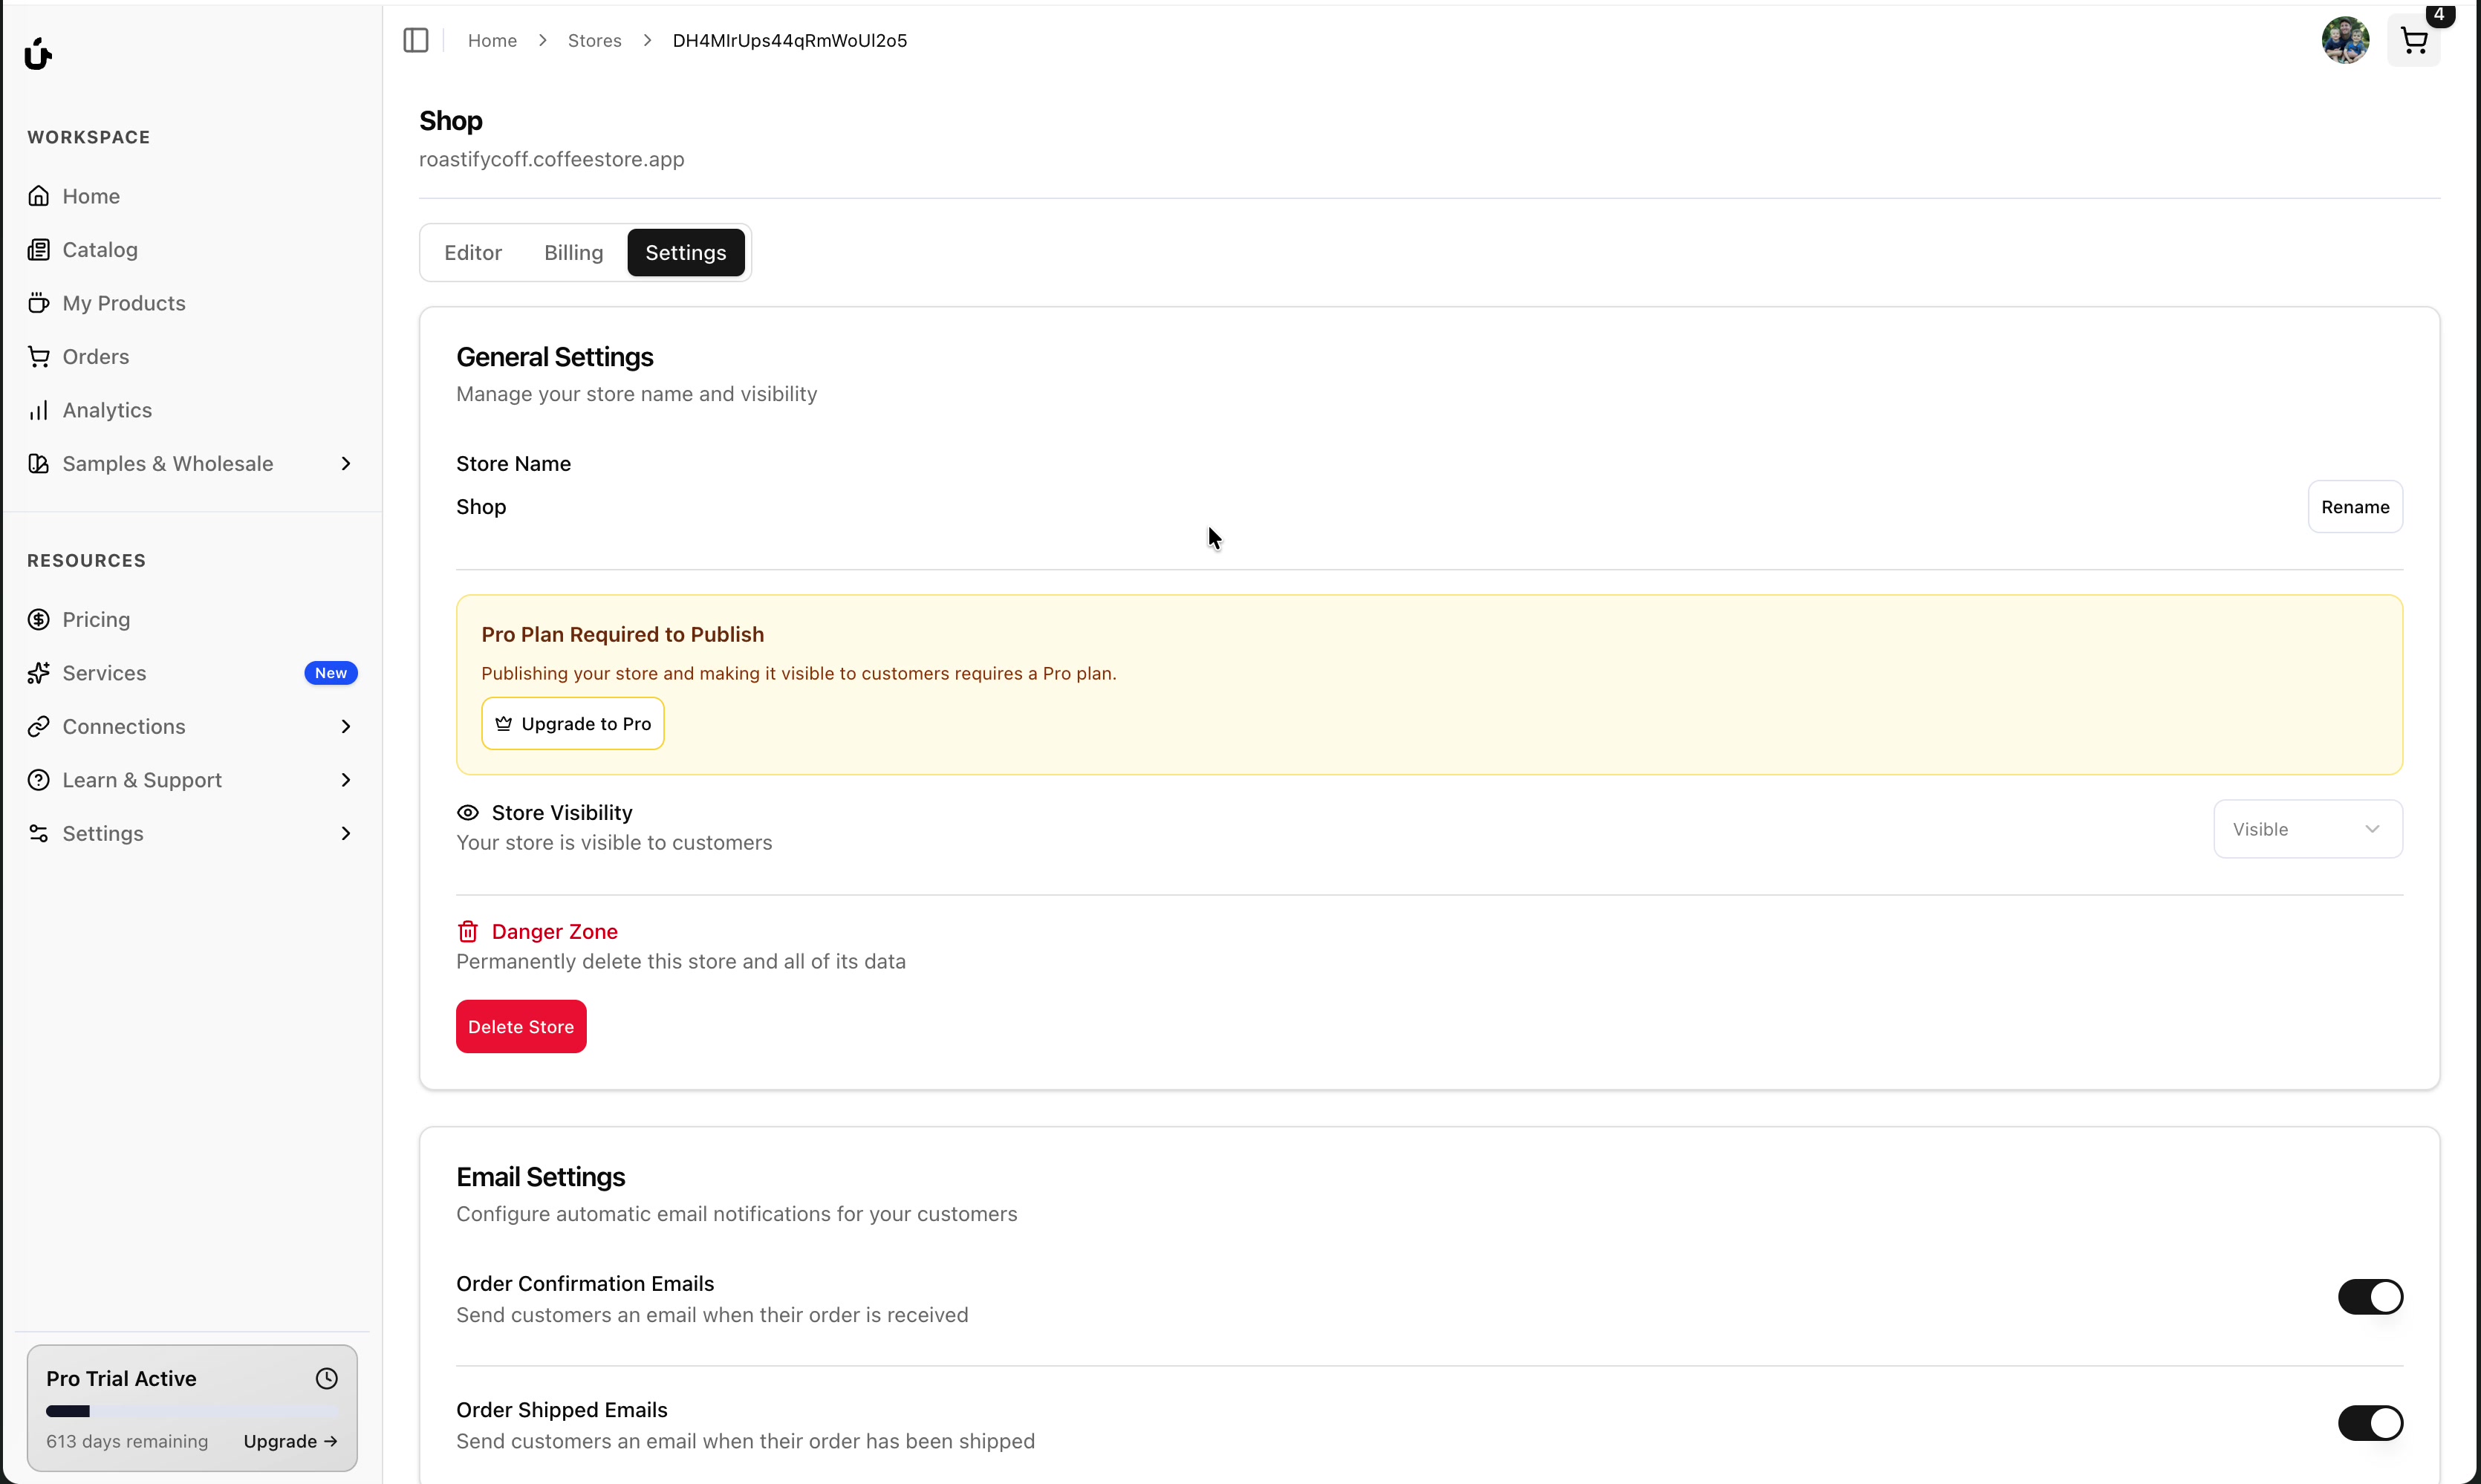
Click the Settings Tab
At the top of the store page, click the Settings tab (next to Editor and Billing).

General Settings
The General Settings section lets you manage your store's basic information and visibility.
Renaming Your Store
To change your store's name:
Find the Store Name field in General Settings.
Click the Rename button on the right side.
Click Save to confirm the change.
Pro Plan Requirement
If the account is not on Pro, you'll see a notification that says "Pro Plan Required to Publish".
Roastify Stores are a Pro feature. Upgrade to Pro before publishing a store and making it visible to customers.
To upgrade:
- Click the Upgrade to Pro button in the notification
- Or go to Settings > Plans in the main navigation
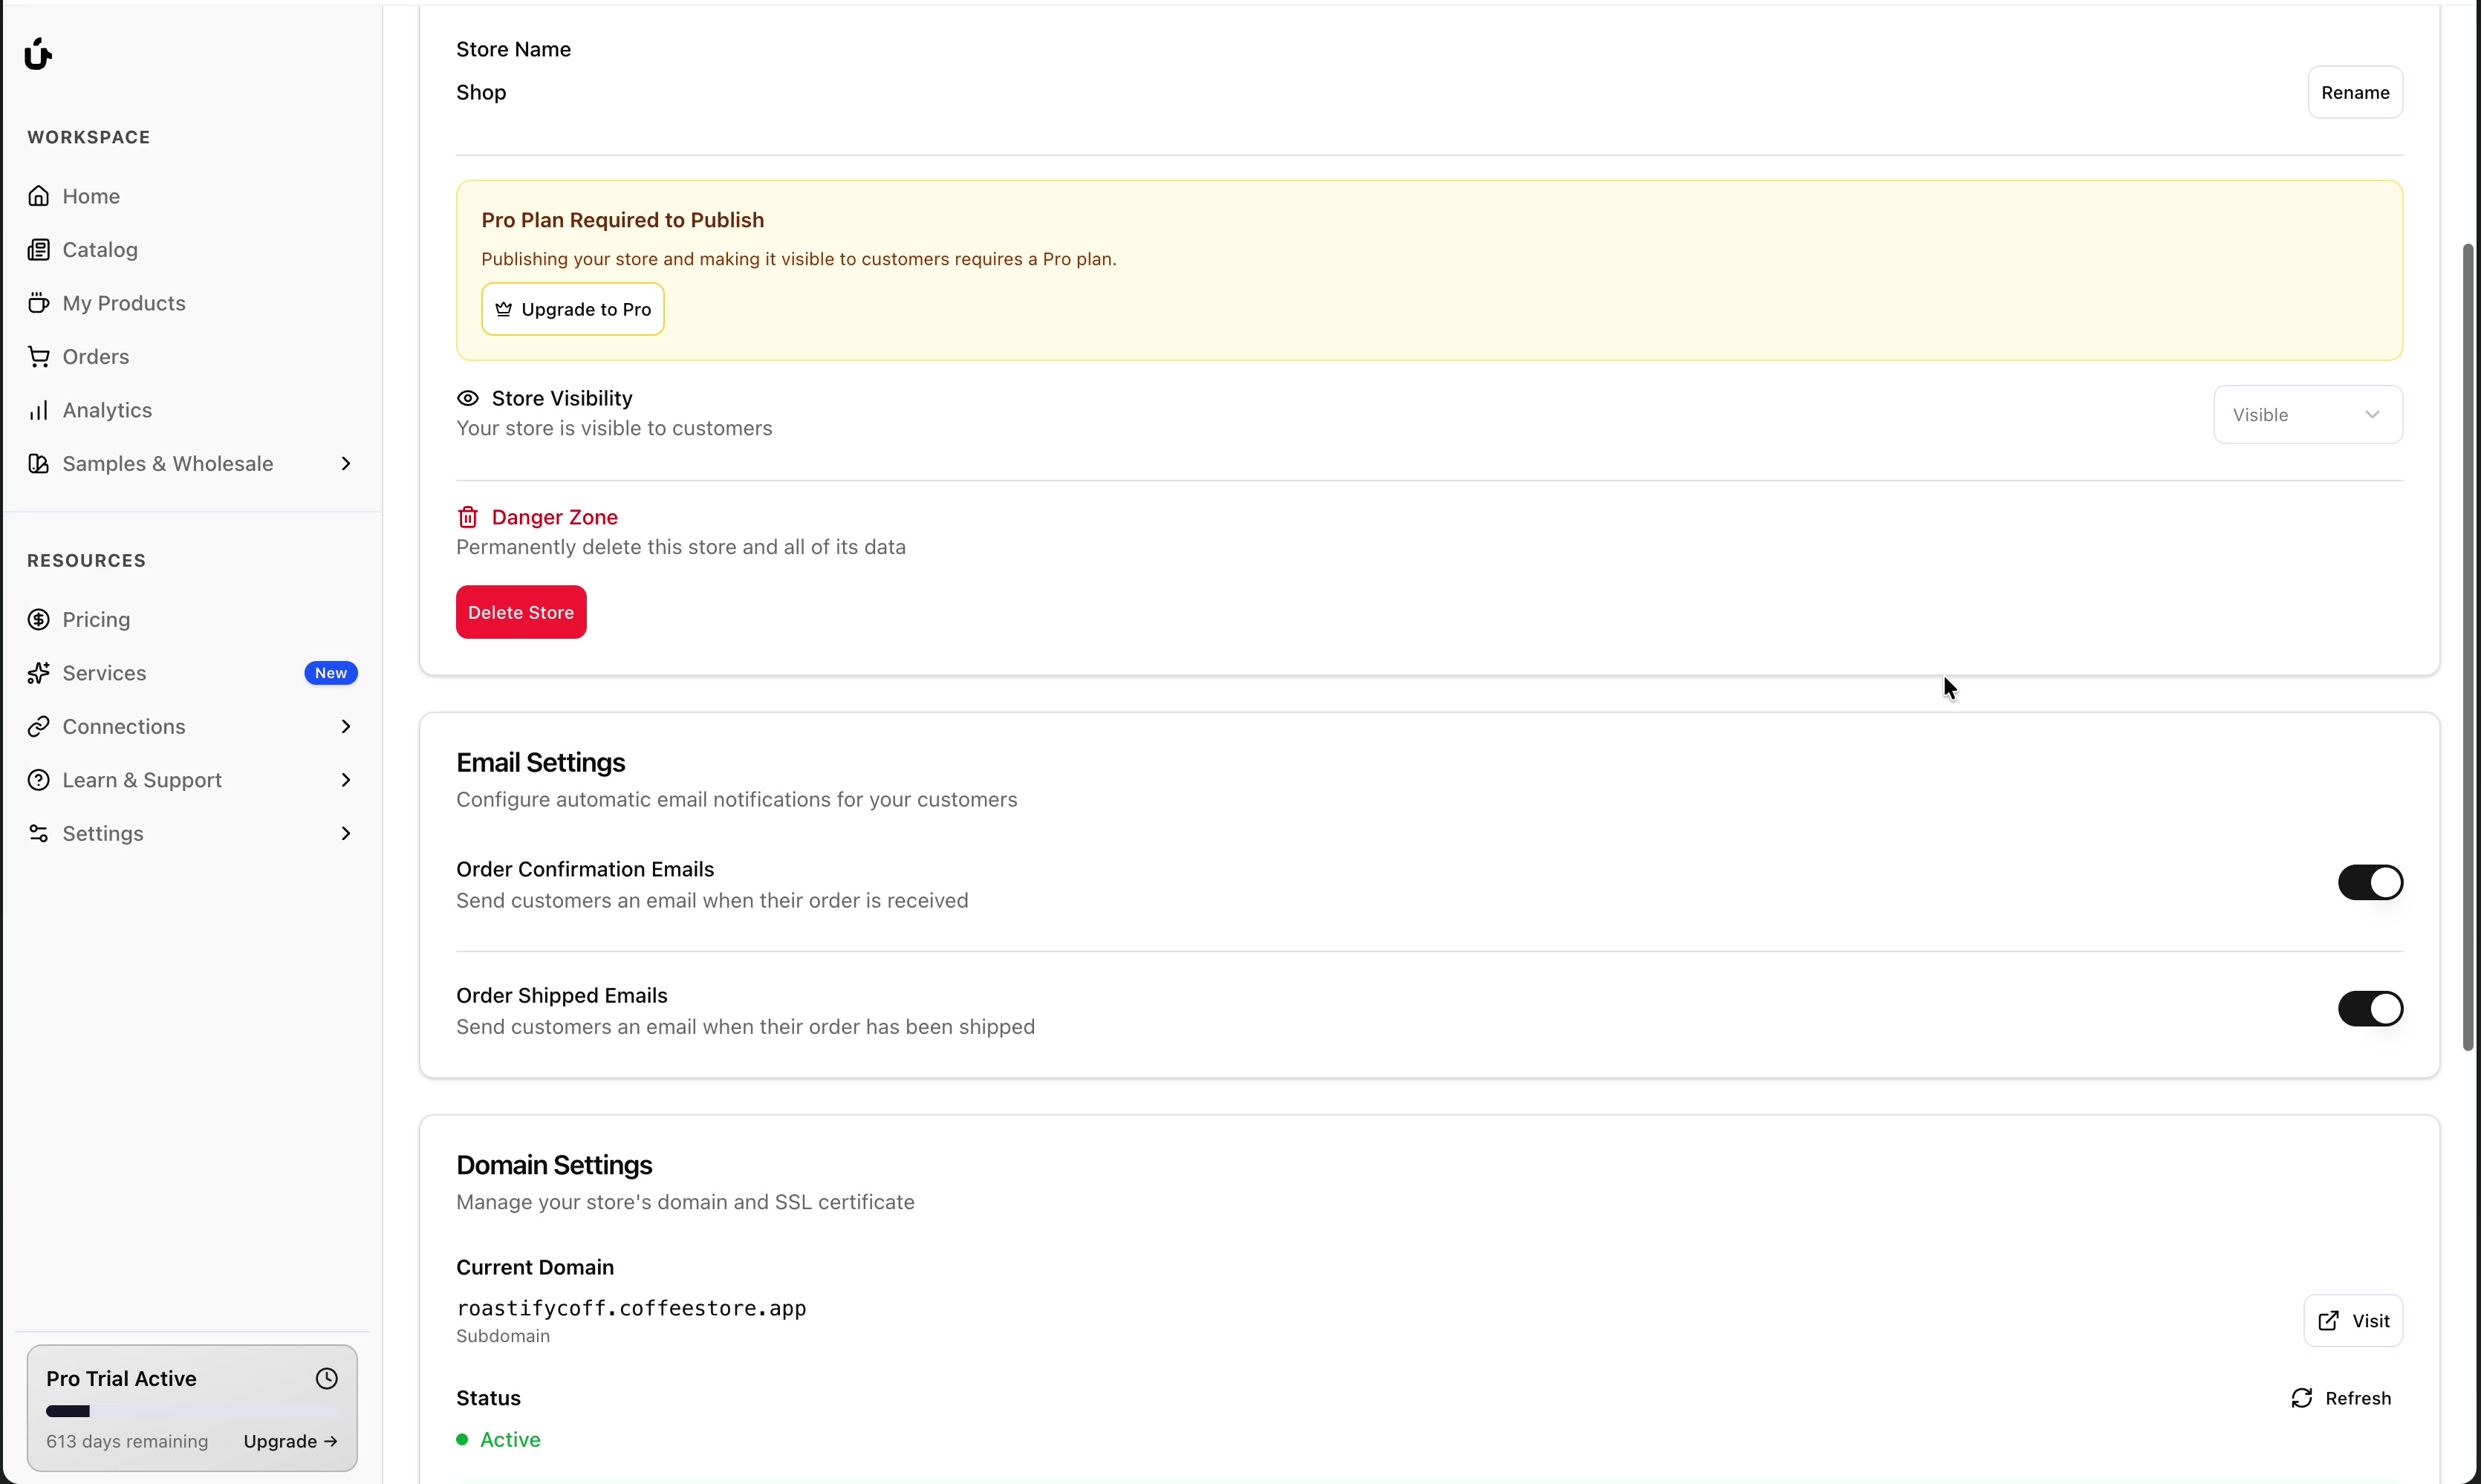
Store Visibility
Once you have a Pro plan, you can control whether your store is visible to customers.

| Setting | Description |
|---|---|
| Visible | Your store is live and customers can browse and purchase products |
| Hidden | Your store is not accessible to customers (useful for making updates) |
Find the Store Visibility section.
Your change saves automatically.
Set your store to Hidden while you're making major changes or updates. Switch it back to Visible when you're ready for customers to see it.
Deleting Your Store
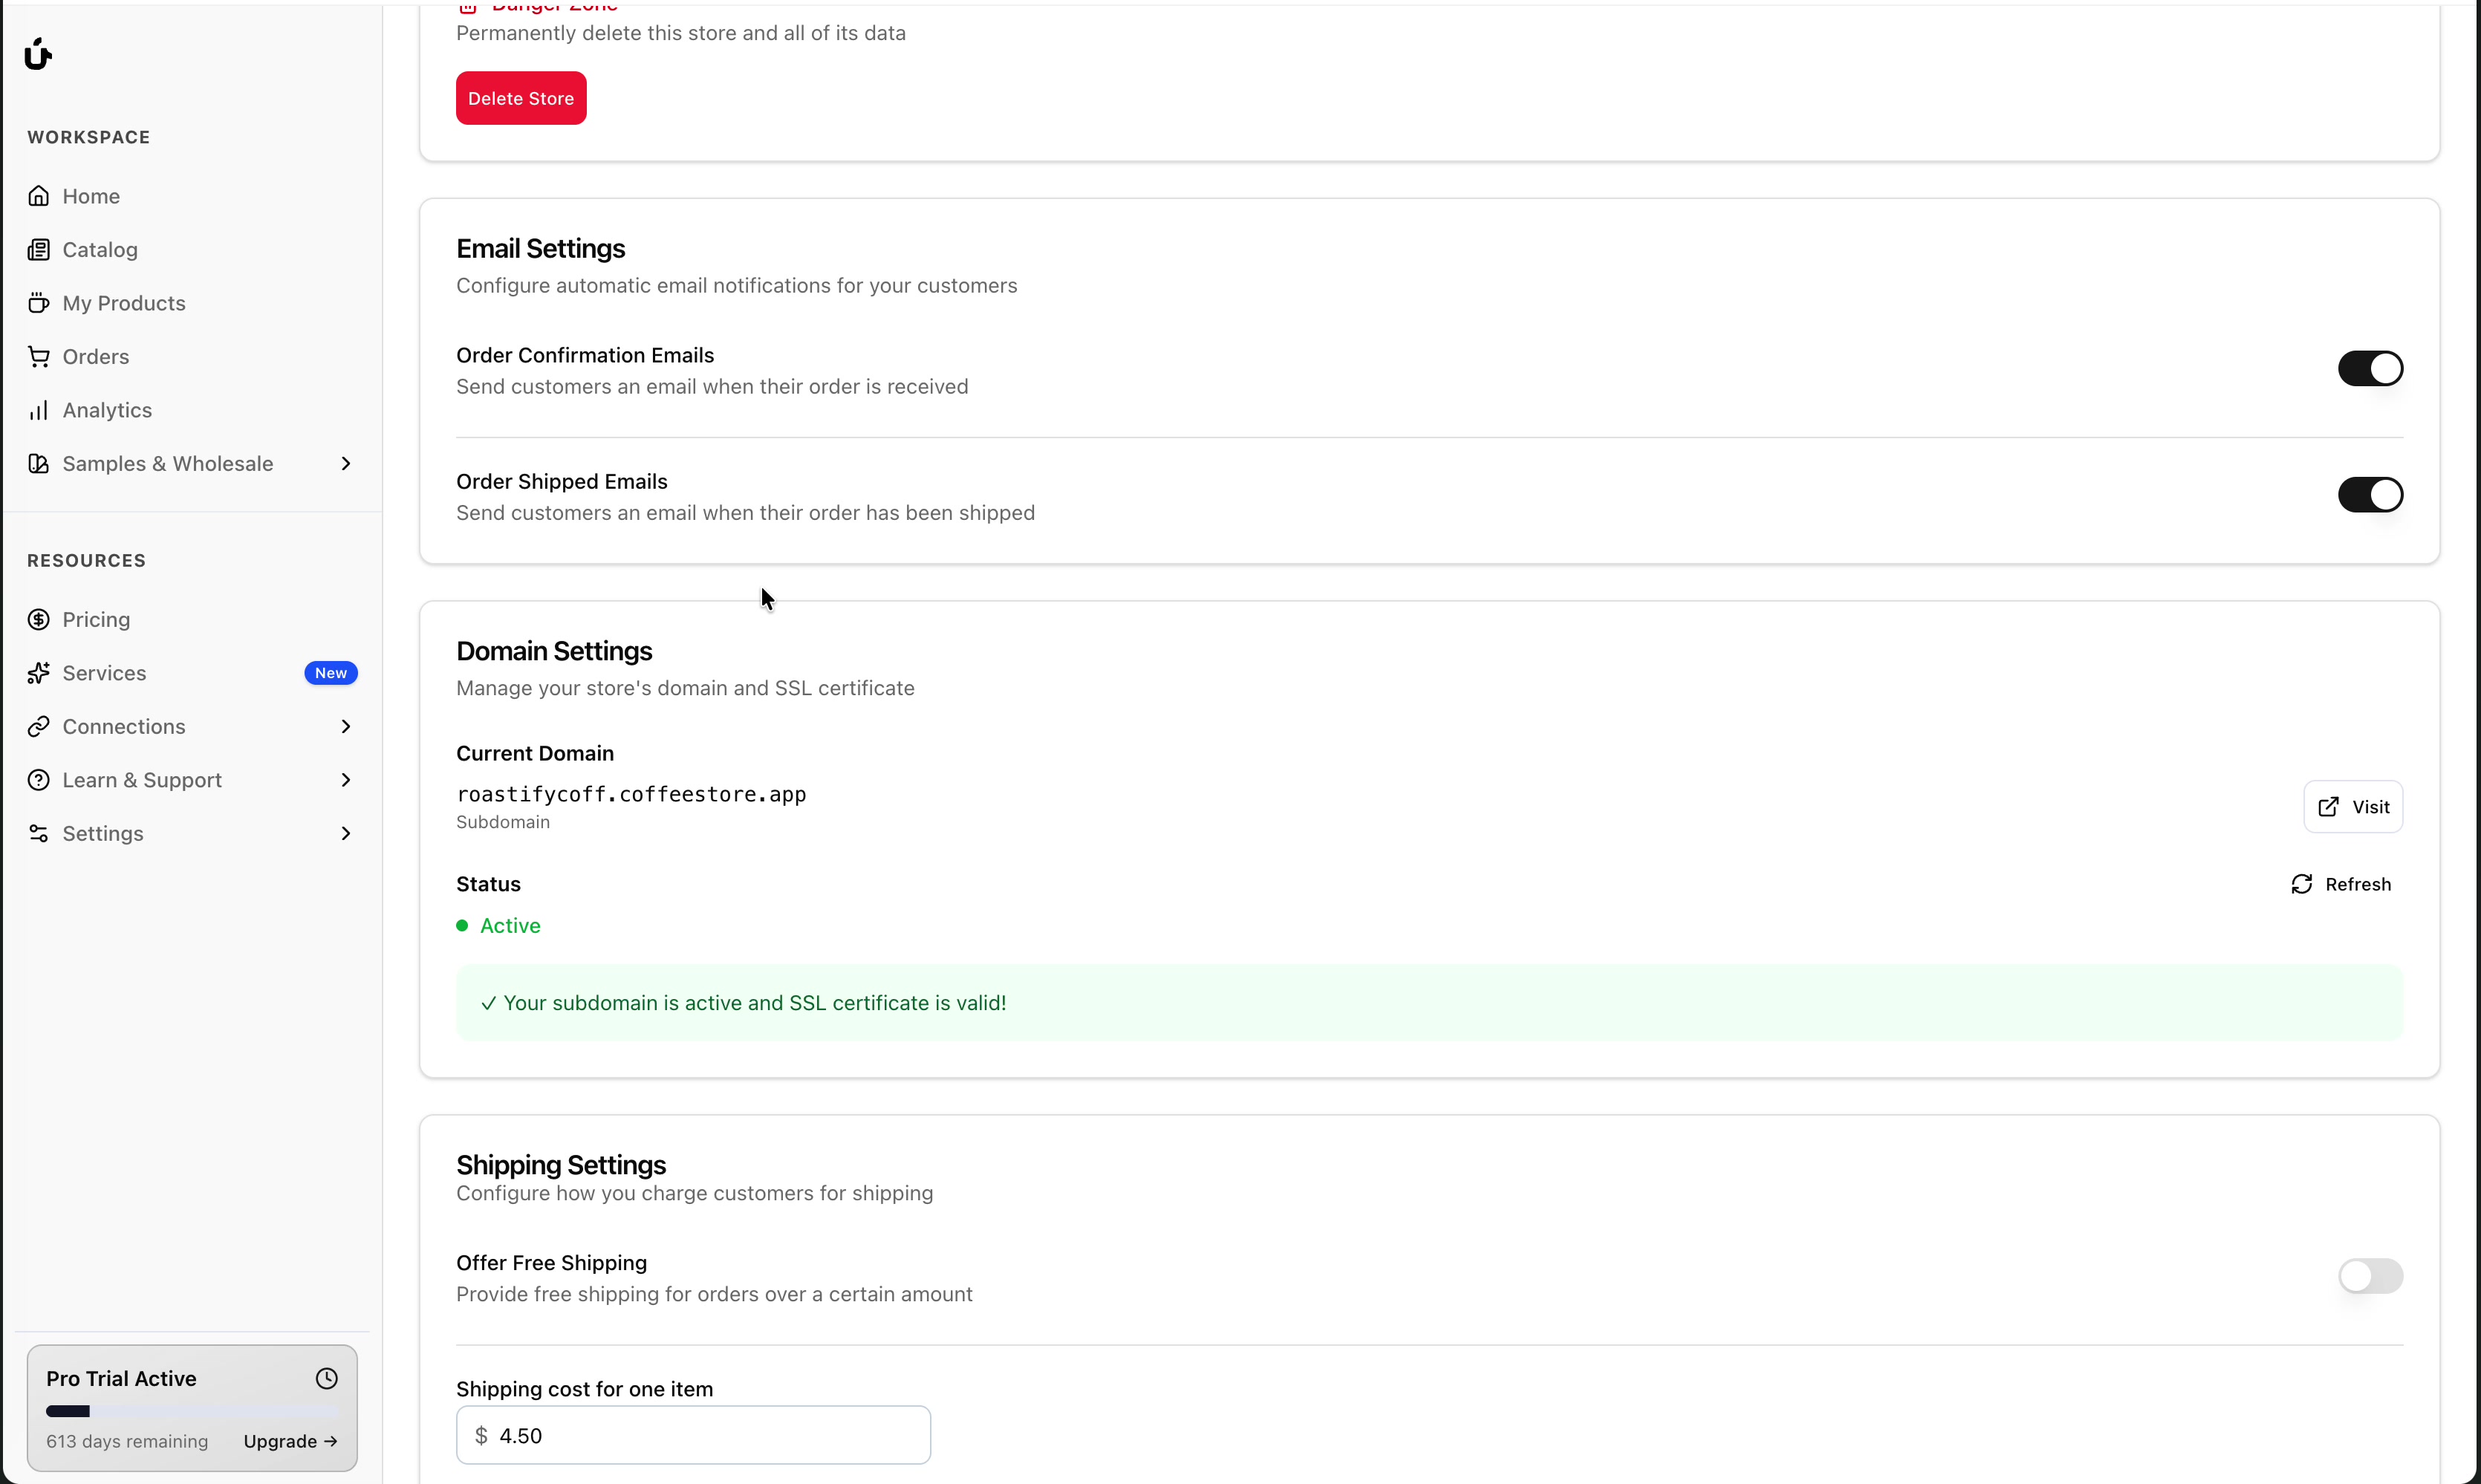
The Danger Zone section at the bottom of General Settings allows you to permanently delete your store.
Deleting a store is permanent and cannot be undone. All store data, settings, and order history will be removed. Make sure you want to do this before proceeding.
To delete your store:
Scroll down to the Danger Zone section.
Confirm that you want to delete the store in the confirmation dialog.
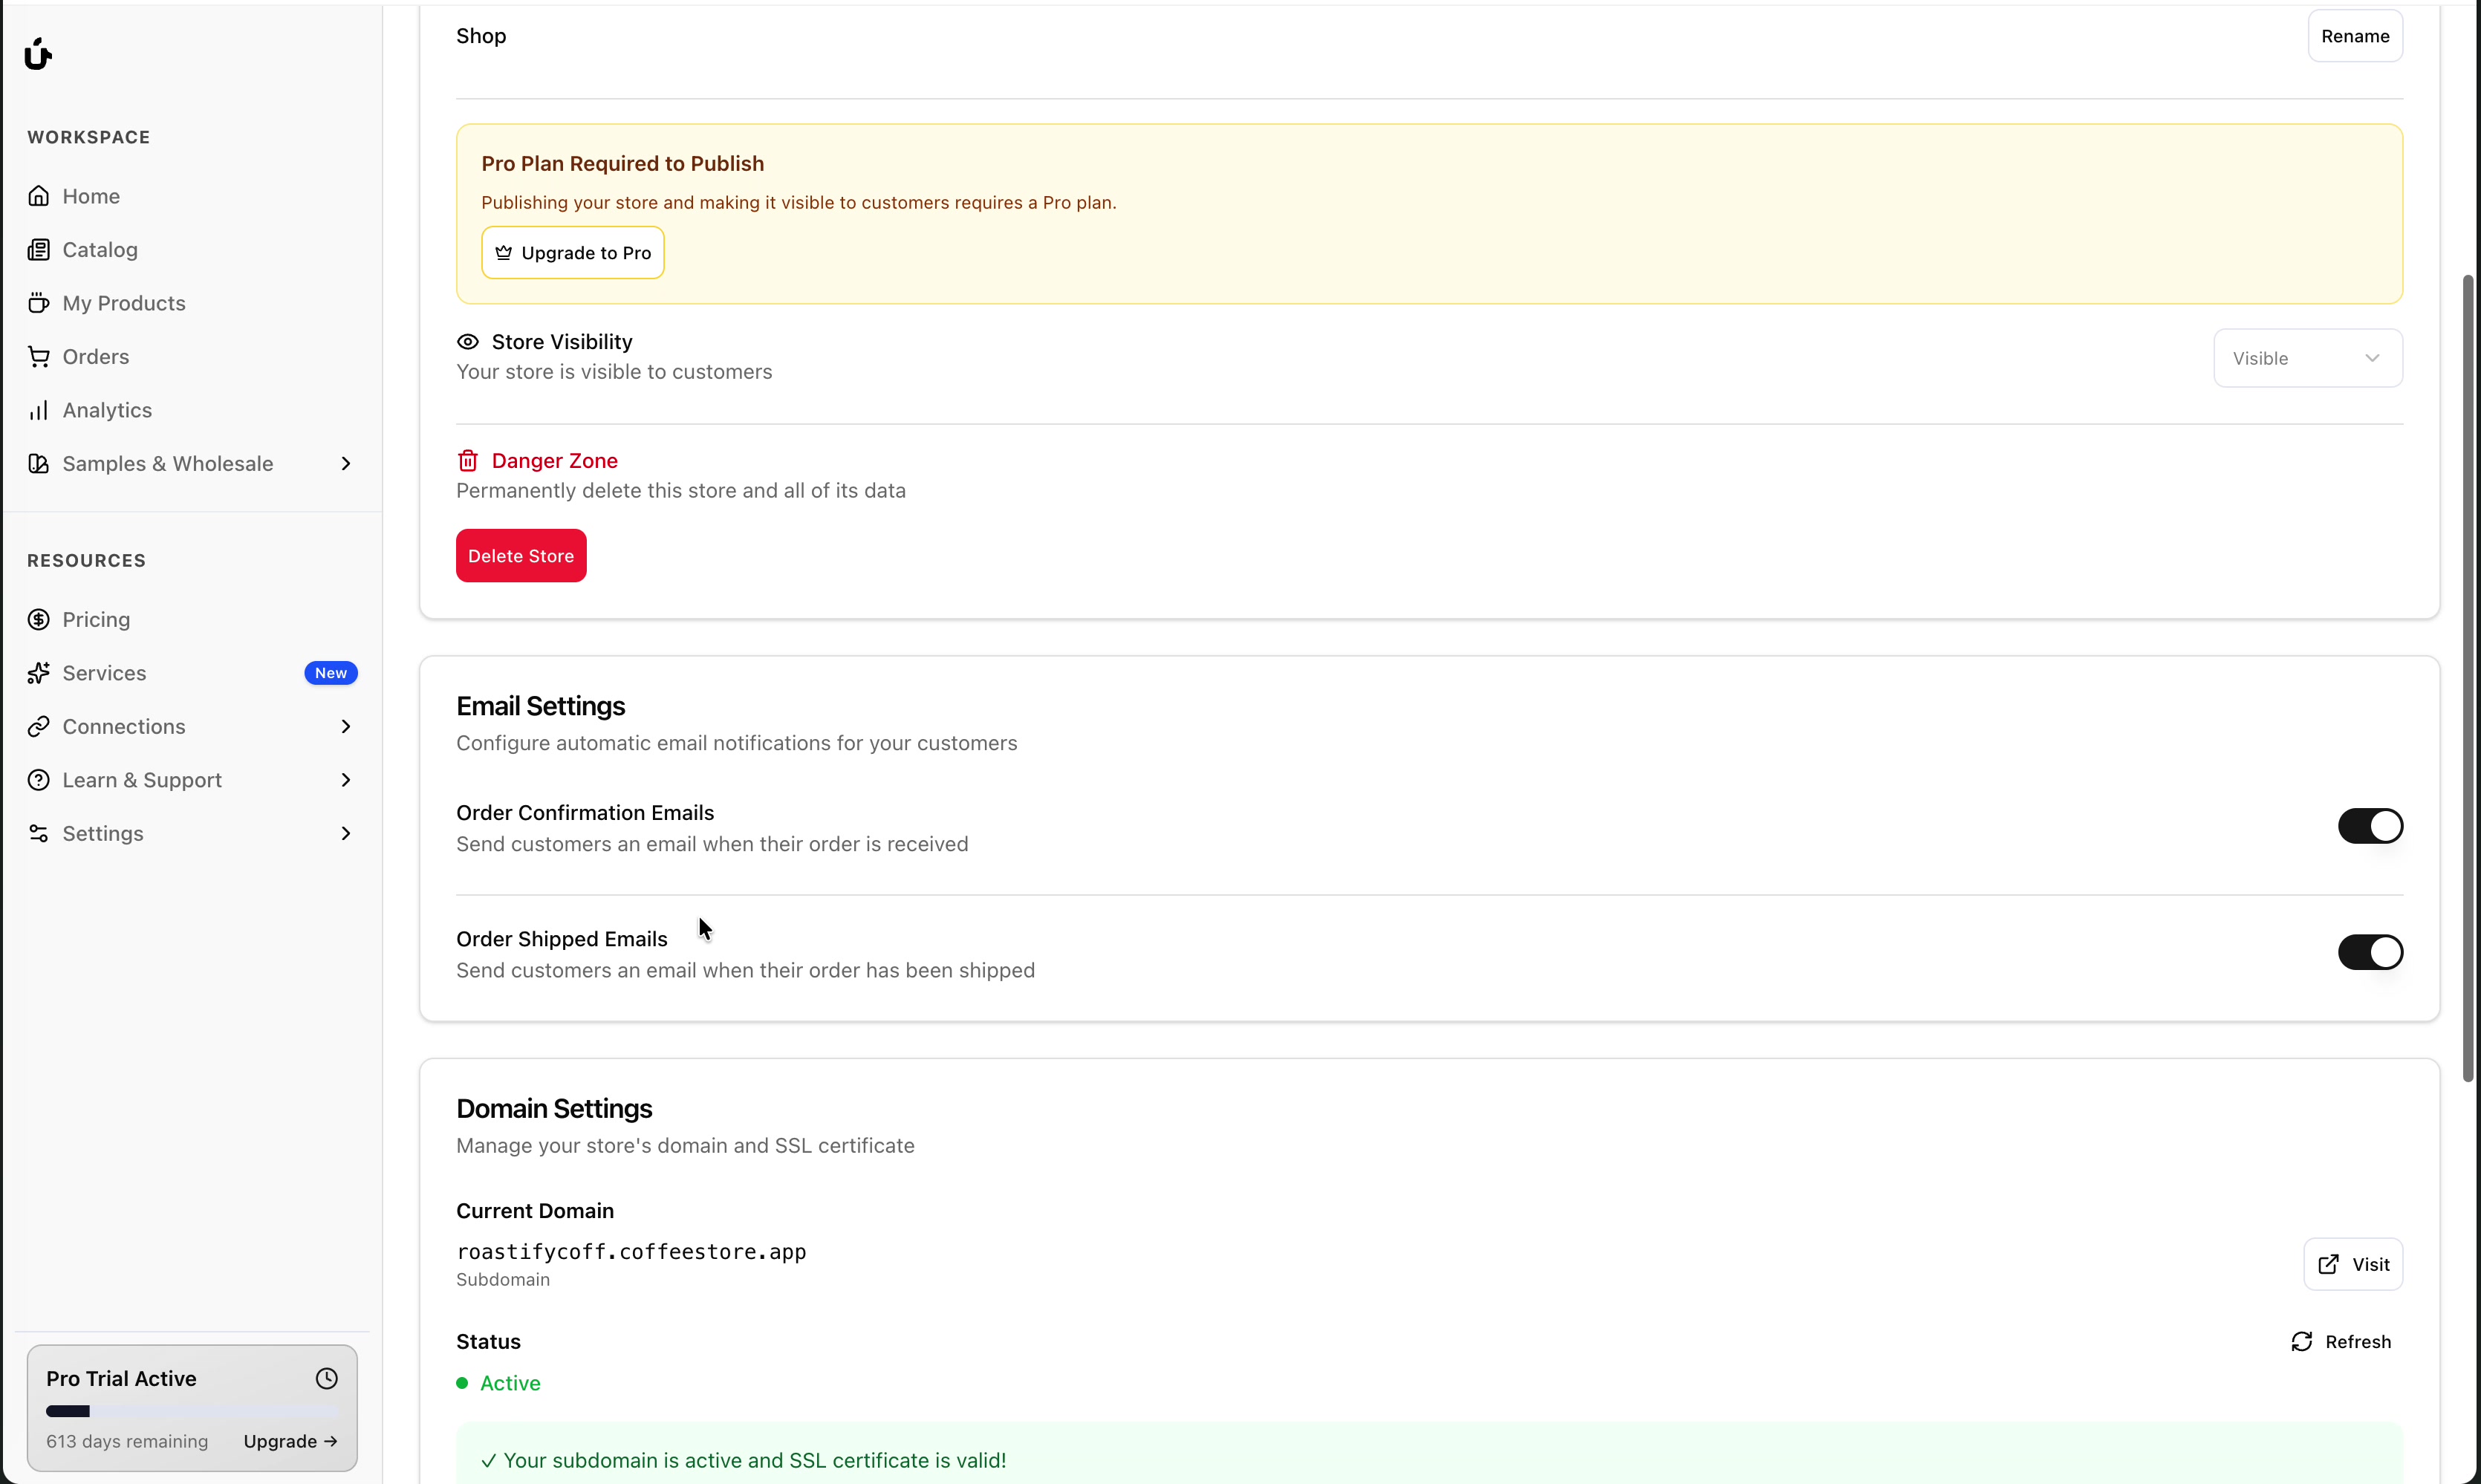
Email Settings
Email Settings let you configure automatic email notifications sent to your customers.
Available Email Notifications
| Email Type | Description | When It's Sent |
|---|---|---|
| Order Confirmation Emails | Notifies customers that their order was received | Immediately after checkout |
| Order Shipped Emails | Notifies customers that their order has shipped | When the order status changes to shipped |
Configuring Email Notifications
Each email type has a toggle switch:
- On (toggle right) - Emails will be sent automatically
- Off (toggle left) - Emails will not be sent
Simply click the toggle next to each email type to turn it on or off. Changes save automatically.
We recommend keeping both email notifications enabled. Customers expect to receive confirmation when they place an order and updates when it ships.
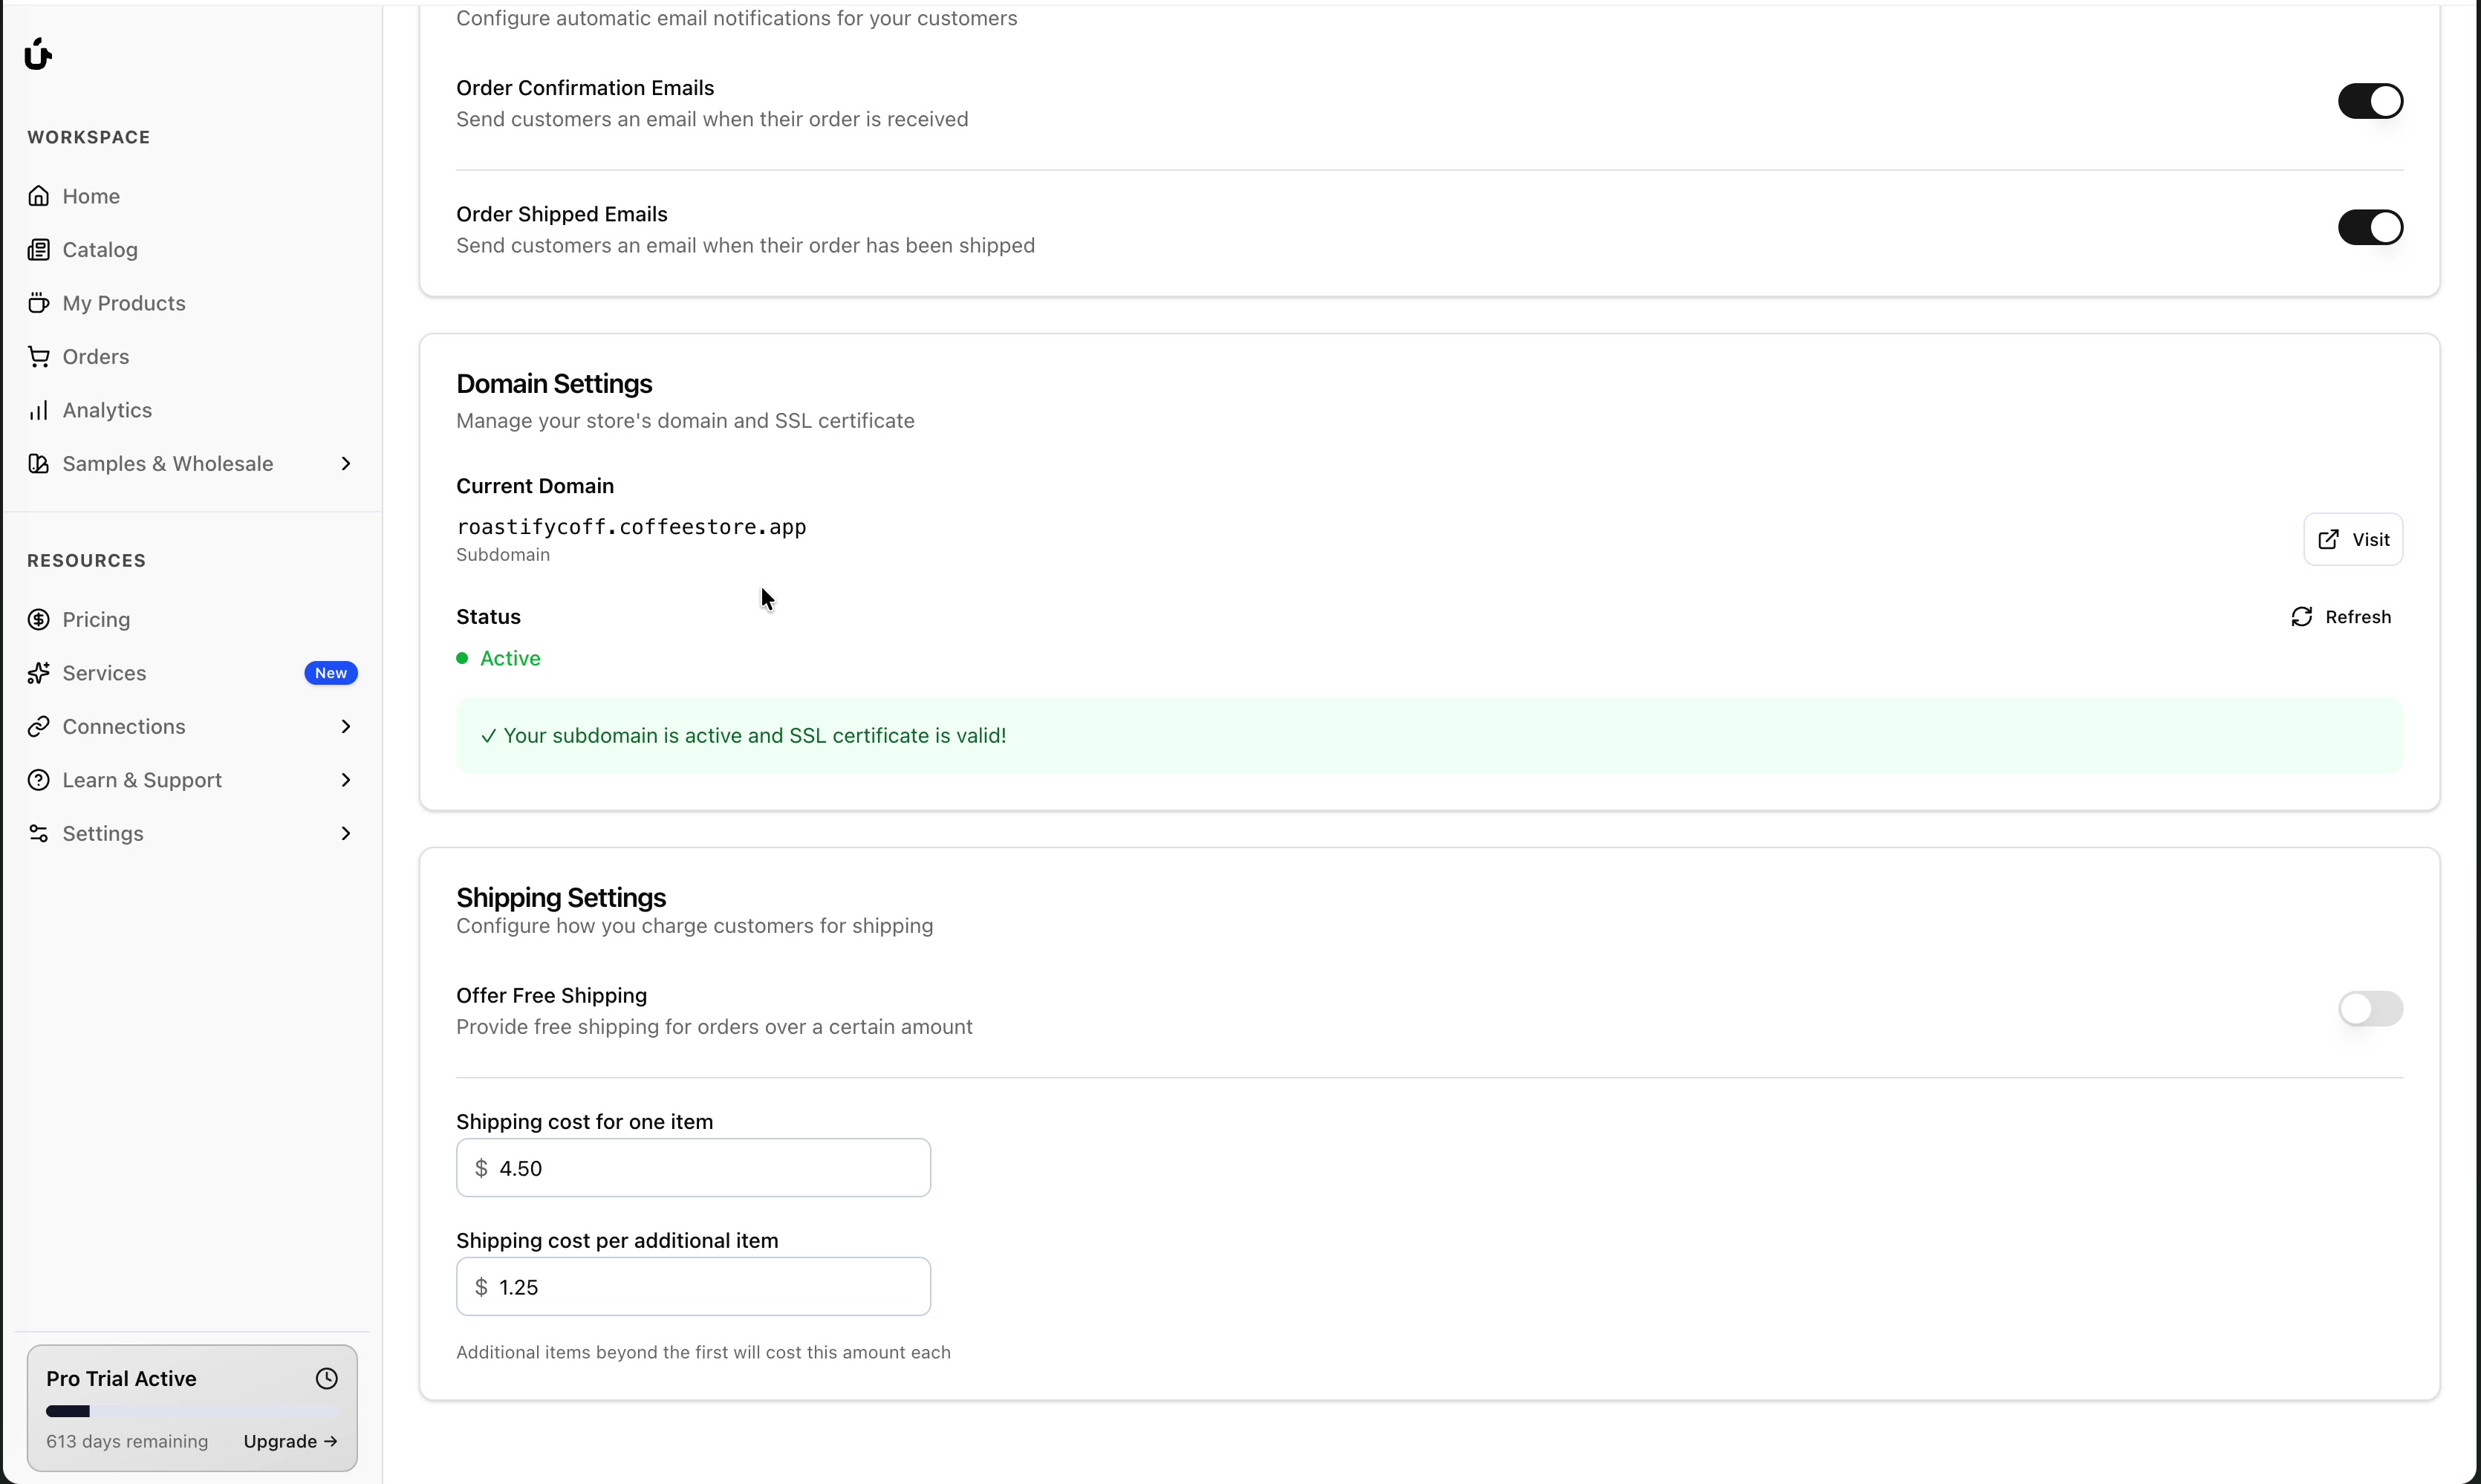
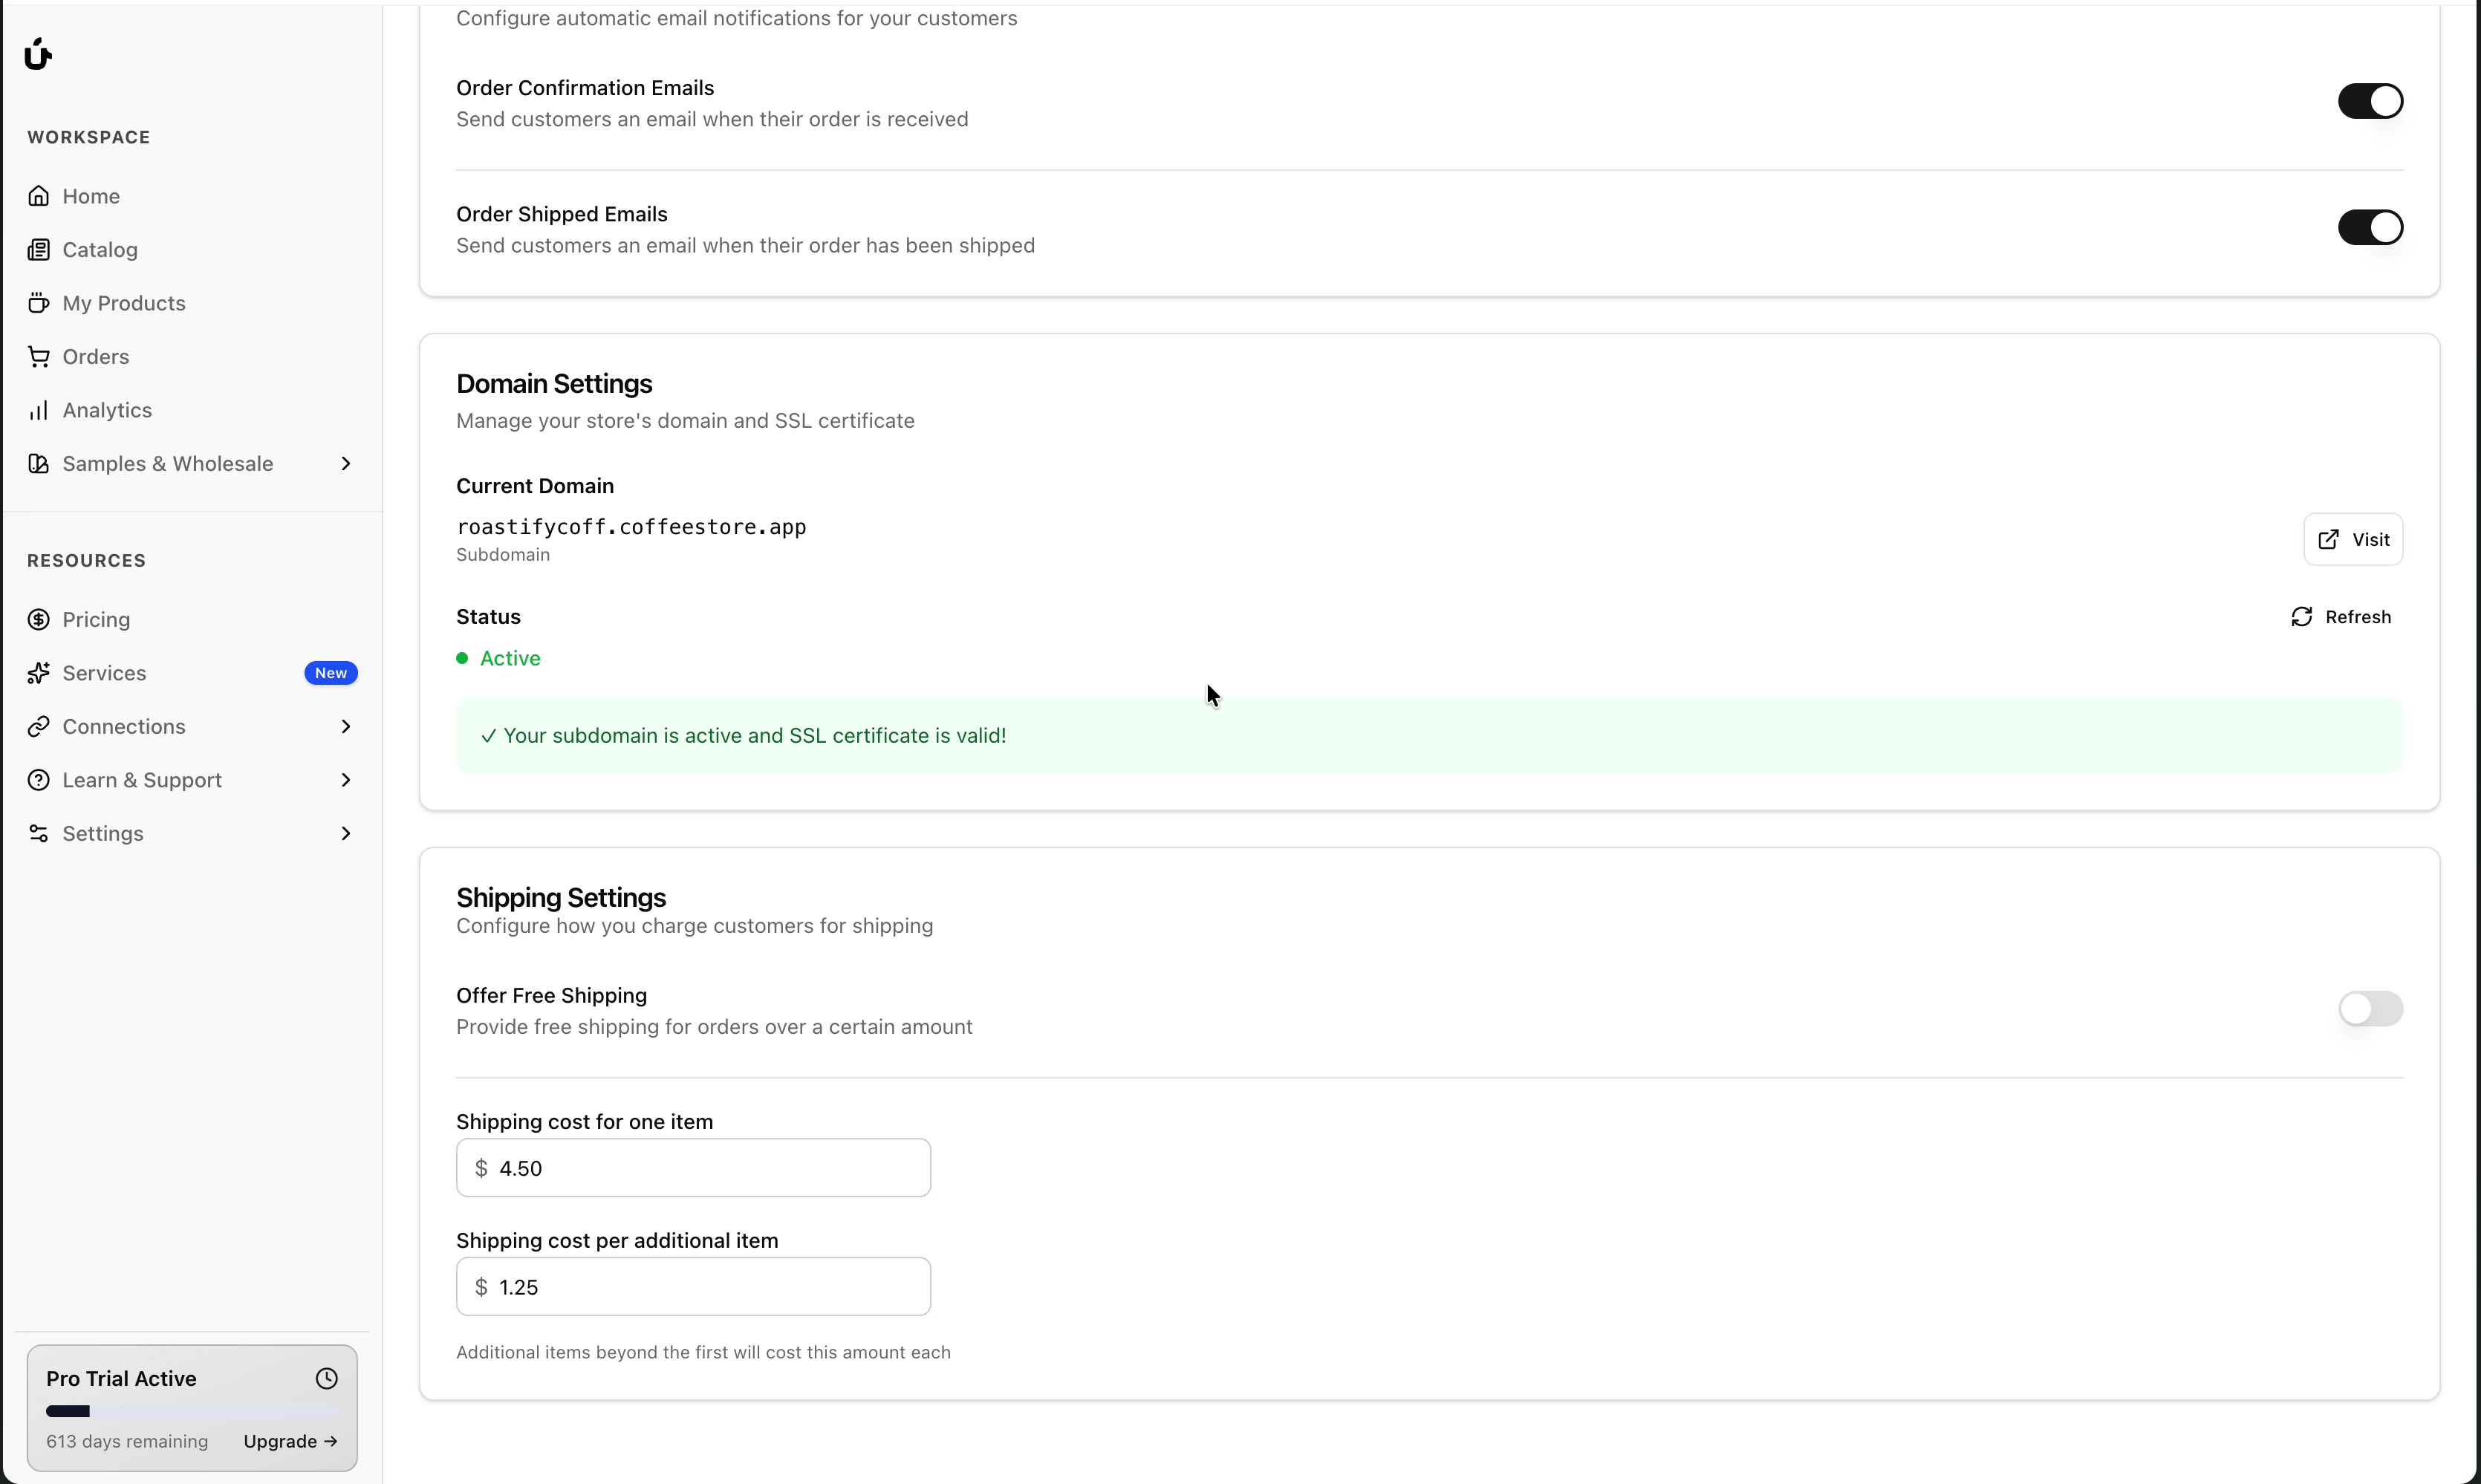
Domain Settings
Domain Settings show your store's current domain and SSL certificate status.
Default Subdomain
Every hosted store gets a free subdomain in the format:
yourstorename.coffeestore.appThis subdomain is automatically configured and includes a valid SSL certificate for secure browsing.
Domain Information
| Field | Description |
|---|---|
| Current Domain | The domain where your store is accessible |
| Type | Either "Subdomain" (default) or "Custom Domain" |
| Status | Shows if your domain is active and SSL is valid |
Custom Domains
You can connect your own custom domain (like www.yourbrand.com) to your hosted store.
Setting up a custom domain requires configuring DNS records (CNAME) with your domain registrar. Contact support for assistance with custom domain setup.
Domain Actions
- Visit - Opens your store in a new browser tab
- Refresh - Checks the current status of your domain and SSL certificate
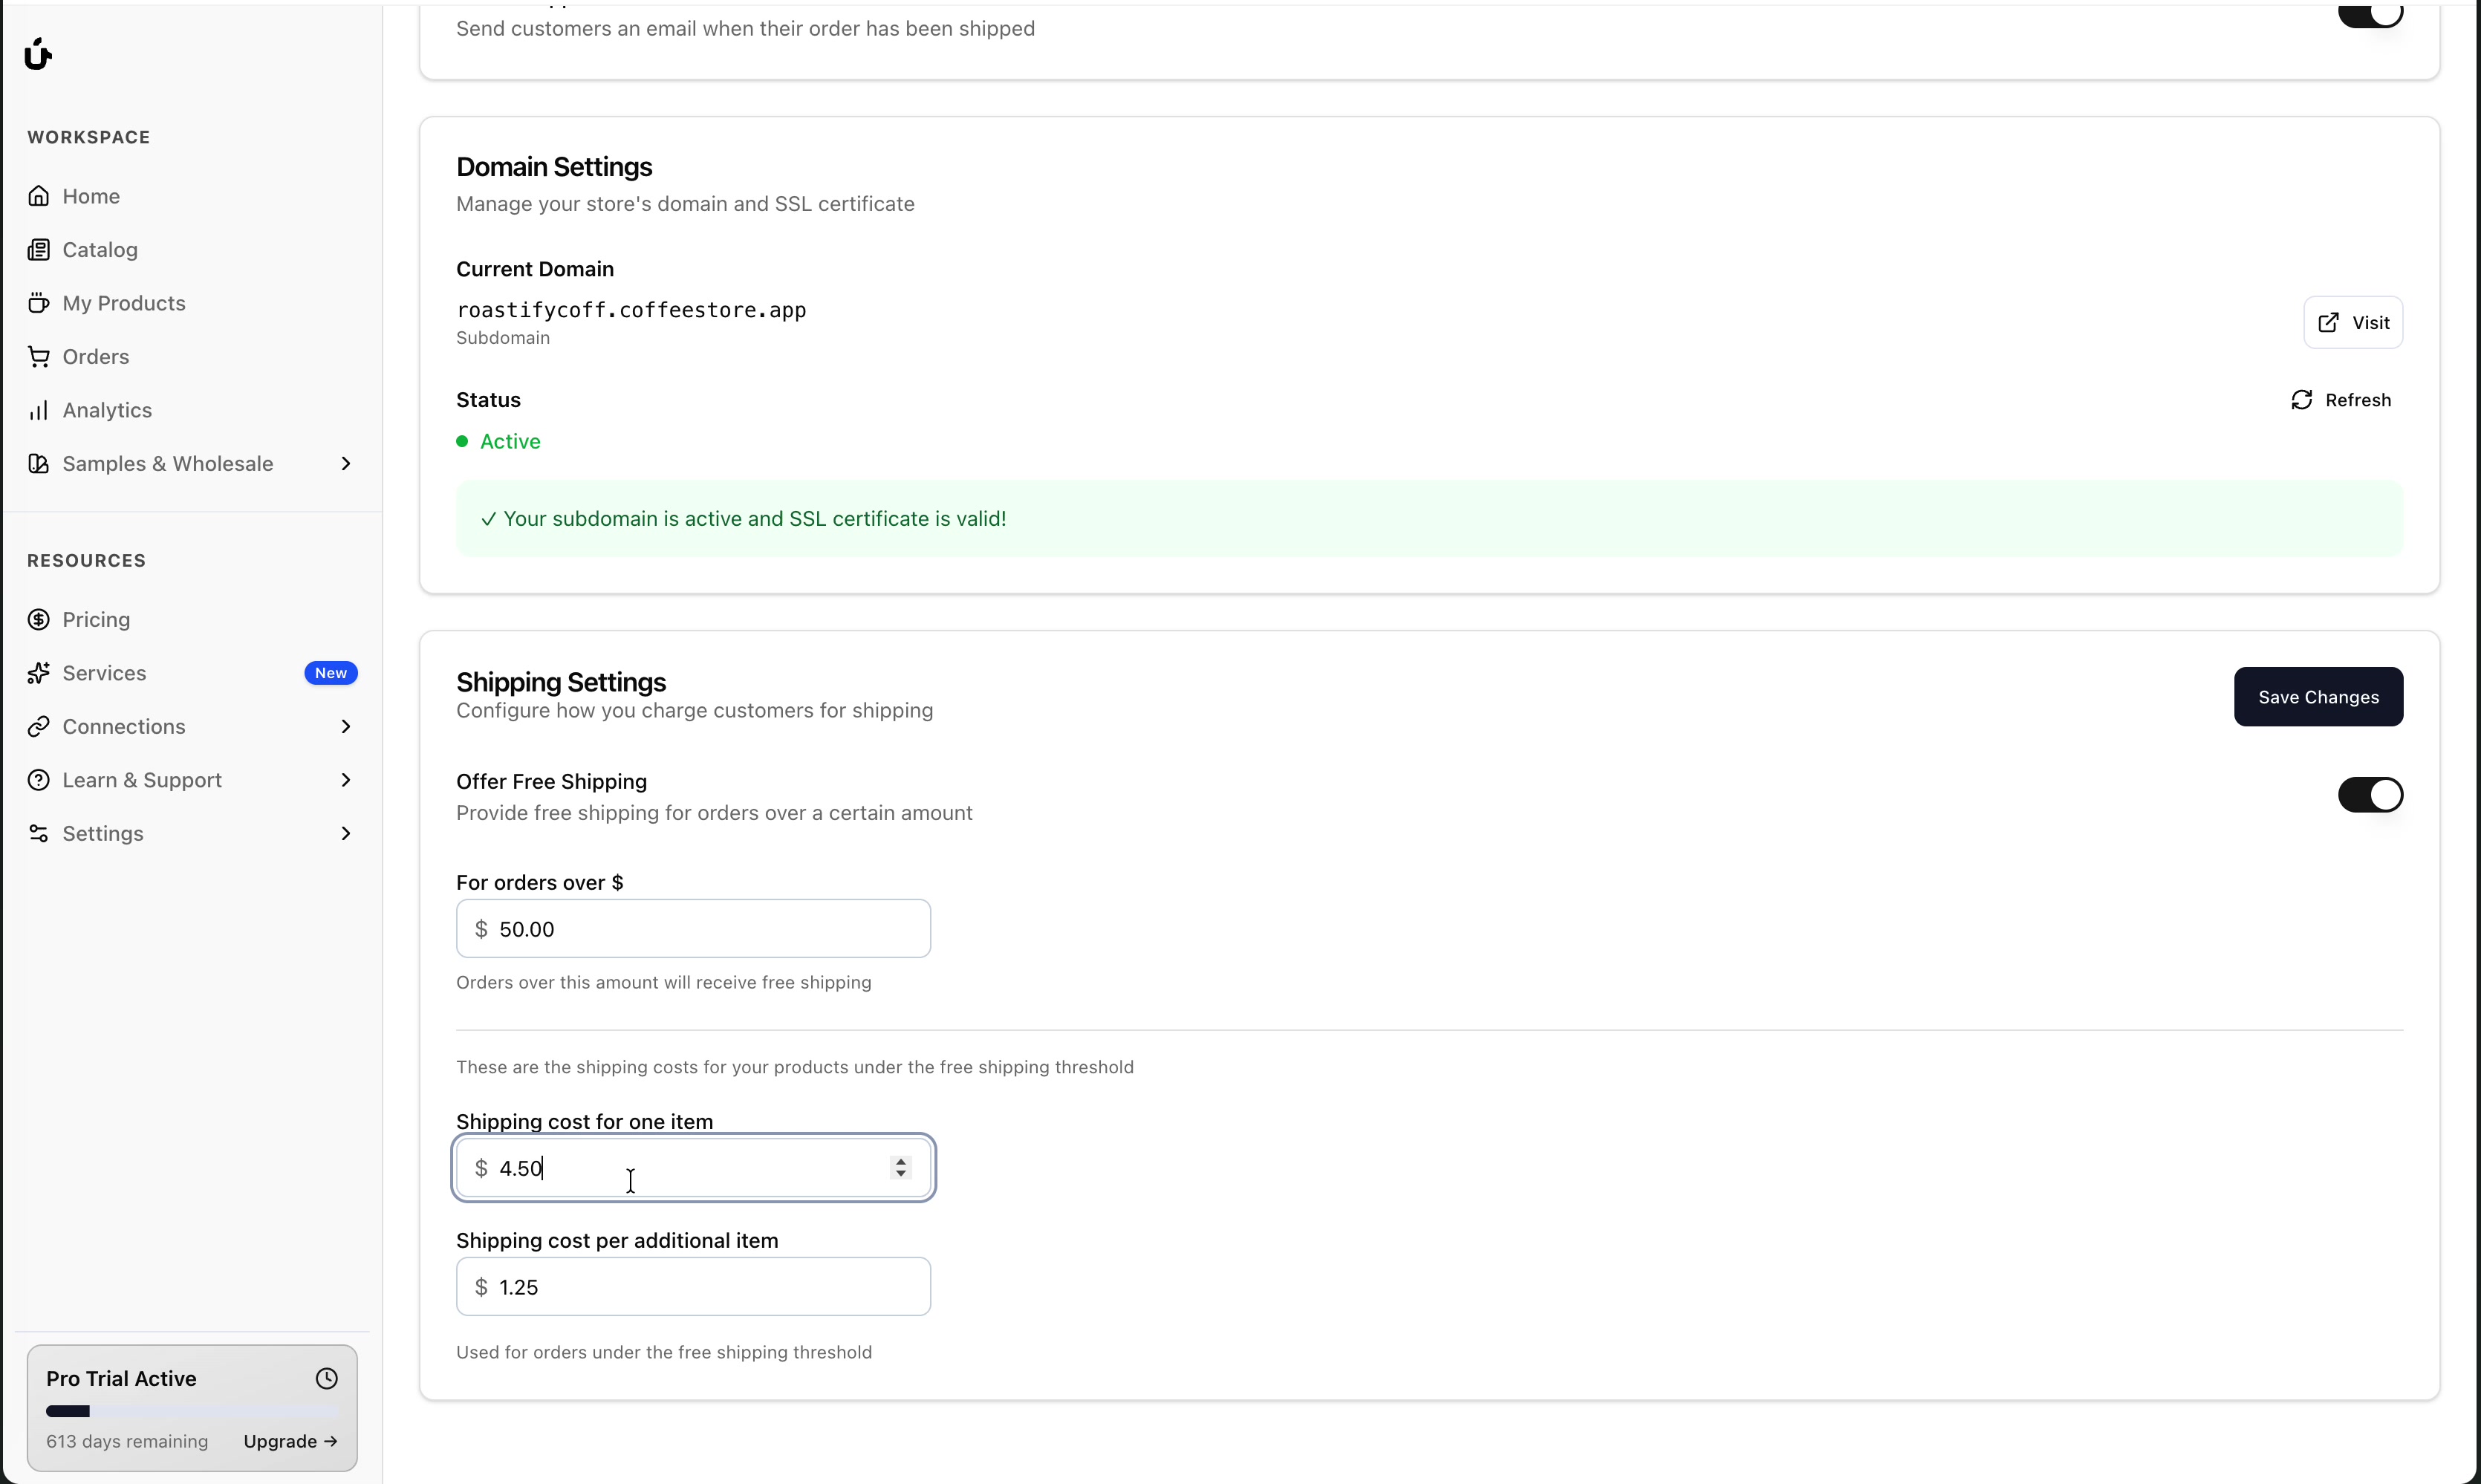
Shipping Settings
Shipping Settings let you configure how much customers pay for shipping on their orders.
Free Shipping
You can offer free shipping to encourage larger orders.
Enable Free Shipping
Toggle on Offer Free Shipping to enable this feature.
Set the Threshold
Enter the minimum order amount for free shipping. For example:
- Set to $0 for free shipping on all orders
- Set to $50 for free shipping on orders over $50
Offering free shipping on orders over a certain amount (like $50) can encourage customers to add more items to their cart to reach the threshold.
Per-Item Shipping Costs
For orders that don't qualify for free shipping, you can set per-item shipping rates.
| Setting | Description |
|---|---|
| Shipping cost for one item | The shipping cost for the first item in an order |
| Shipping cost per additional item | The cost added for each additional item after the first |
Shipping Cost Example
Let's say you configure:
- First item: $4.00
- Additional items: $2.00
- Free shipping on orders over: $50
Here's how shipping would be calculated:
| Order | Items | Calculation | Shipping Cost |
|---|---|---|---|
| $30 order | 1 item | $4.00 | $4.00 |
| $35 order | 2 items | $4.00 + $2.00 | $6.00 |
| $40 order | 3 items | $4.00 + $2.00 + $2.00 | $8.00 |
| $55 order | 3 items | Free (over $50 threshold) | $0.00 |
Saving Shipping Settings
Changes to shipping settings save automatically when you modify the values. You'll see a confirmation message when your settings are saved.
Settings Summary
General Settings
Store name, visibility (Visible/Hidden), and store deletion
Email Settings
Order confirmation and shipping notification emails
Domain Settings
Subdomain, custom domain, and SSL certificate status
Shipping Settings
Free shipping thresholds and per-item shipping costs
Next Steps
Customize Your Store
Edit your store's branding, colors, and content. Customize Store →
Activate Your Store
Connect Stripe payments and go live. Activate Store →
Manage Your Store
Handle orders and day-to-day operations. Manage Store →