Webhooks
Learn how to set up and use Roastify webhooks to receive real-time event notifications
Webhooks allow you to receive real-time notifications when events occur in your Roastify account, such as when an order is shipped or tracking information is updated. Instead of polling the API for updates, webhooks push data to your server as events happen.
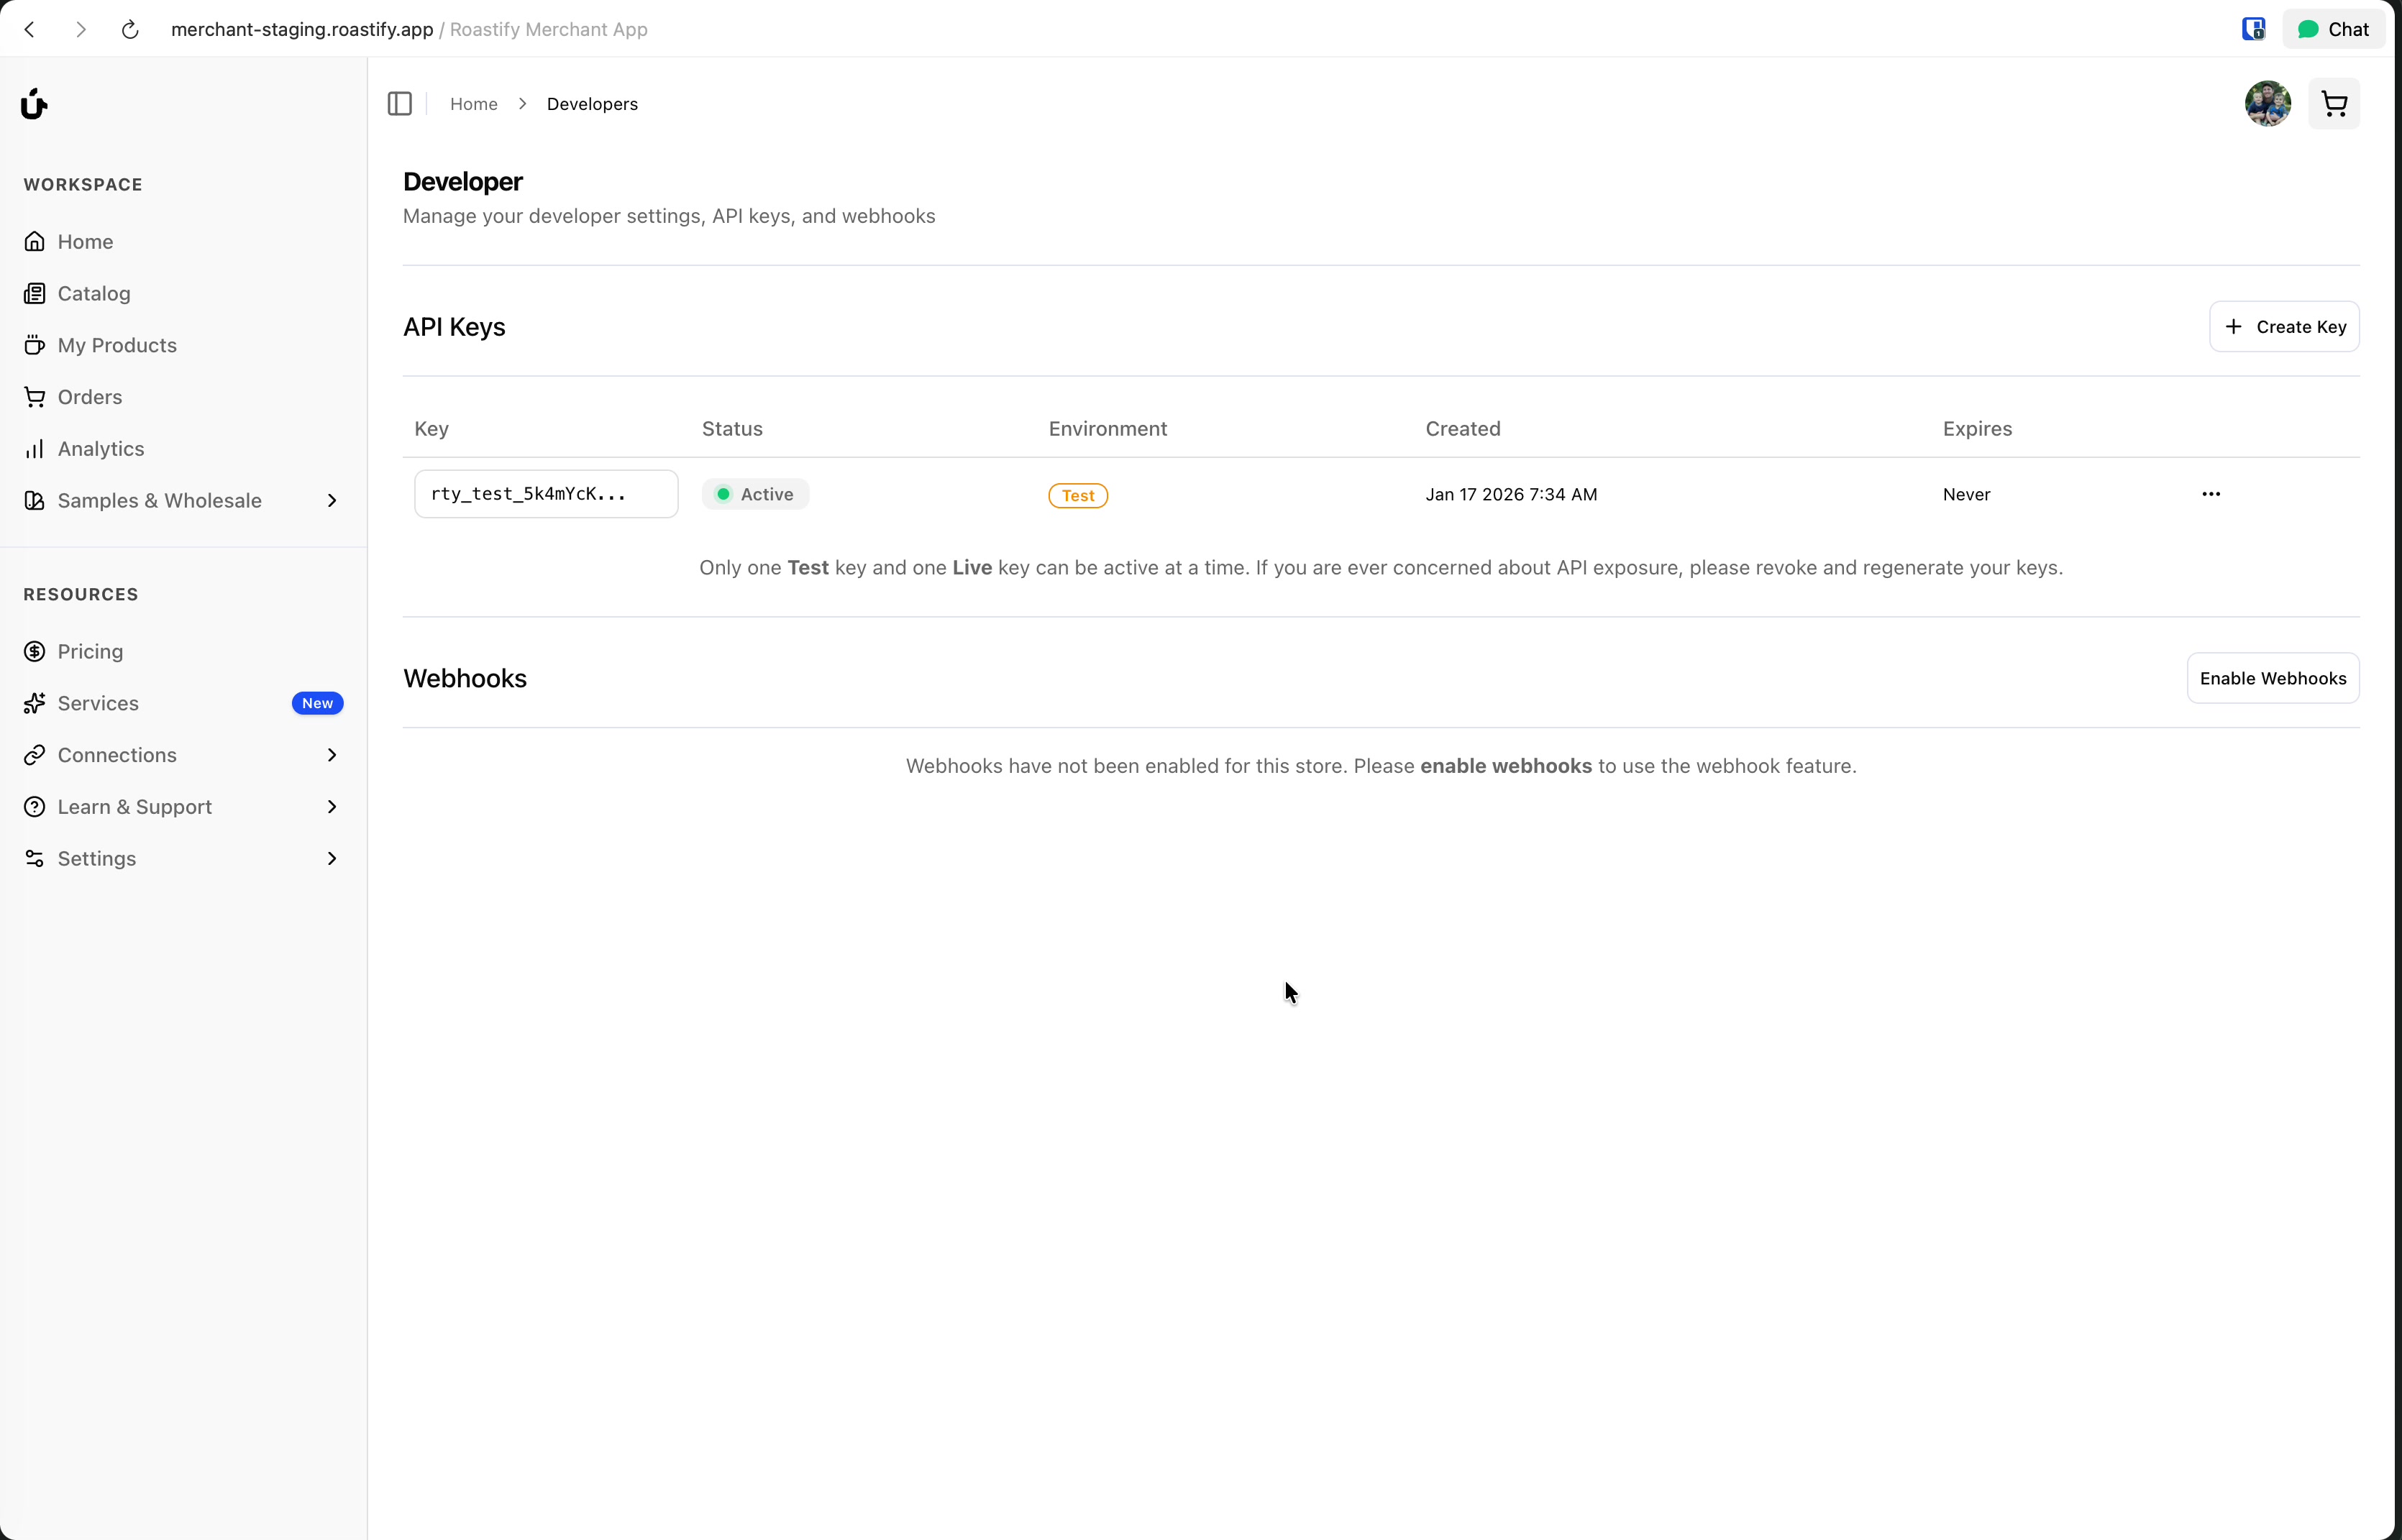
Enable Webhooks
Activate webhooks in your Developer settings to start receiving real-time event notifications.
Add Endpoint
Register your webhook endpoint and select which events you want to receive.
Test & Monitor
Send test events, view delivery attempts, and monitor webhook status in the dashboard.
Prerequisites
Before setting up webhooks, you must:
- Enable the Developer API (see Quickstart)
- Have an endpoint URL ready to receive POST requests
Enabling Webhooks
Navigate to the Developers Page
Go to Connections > Developers in the left sidebar.
Click Enable Webhooks
In the Webhooks section, click Enable Webhooks to activate the webhook feature.
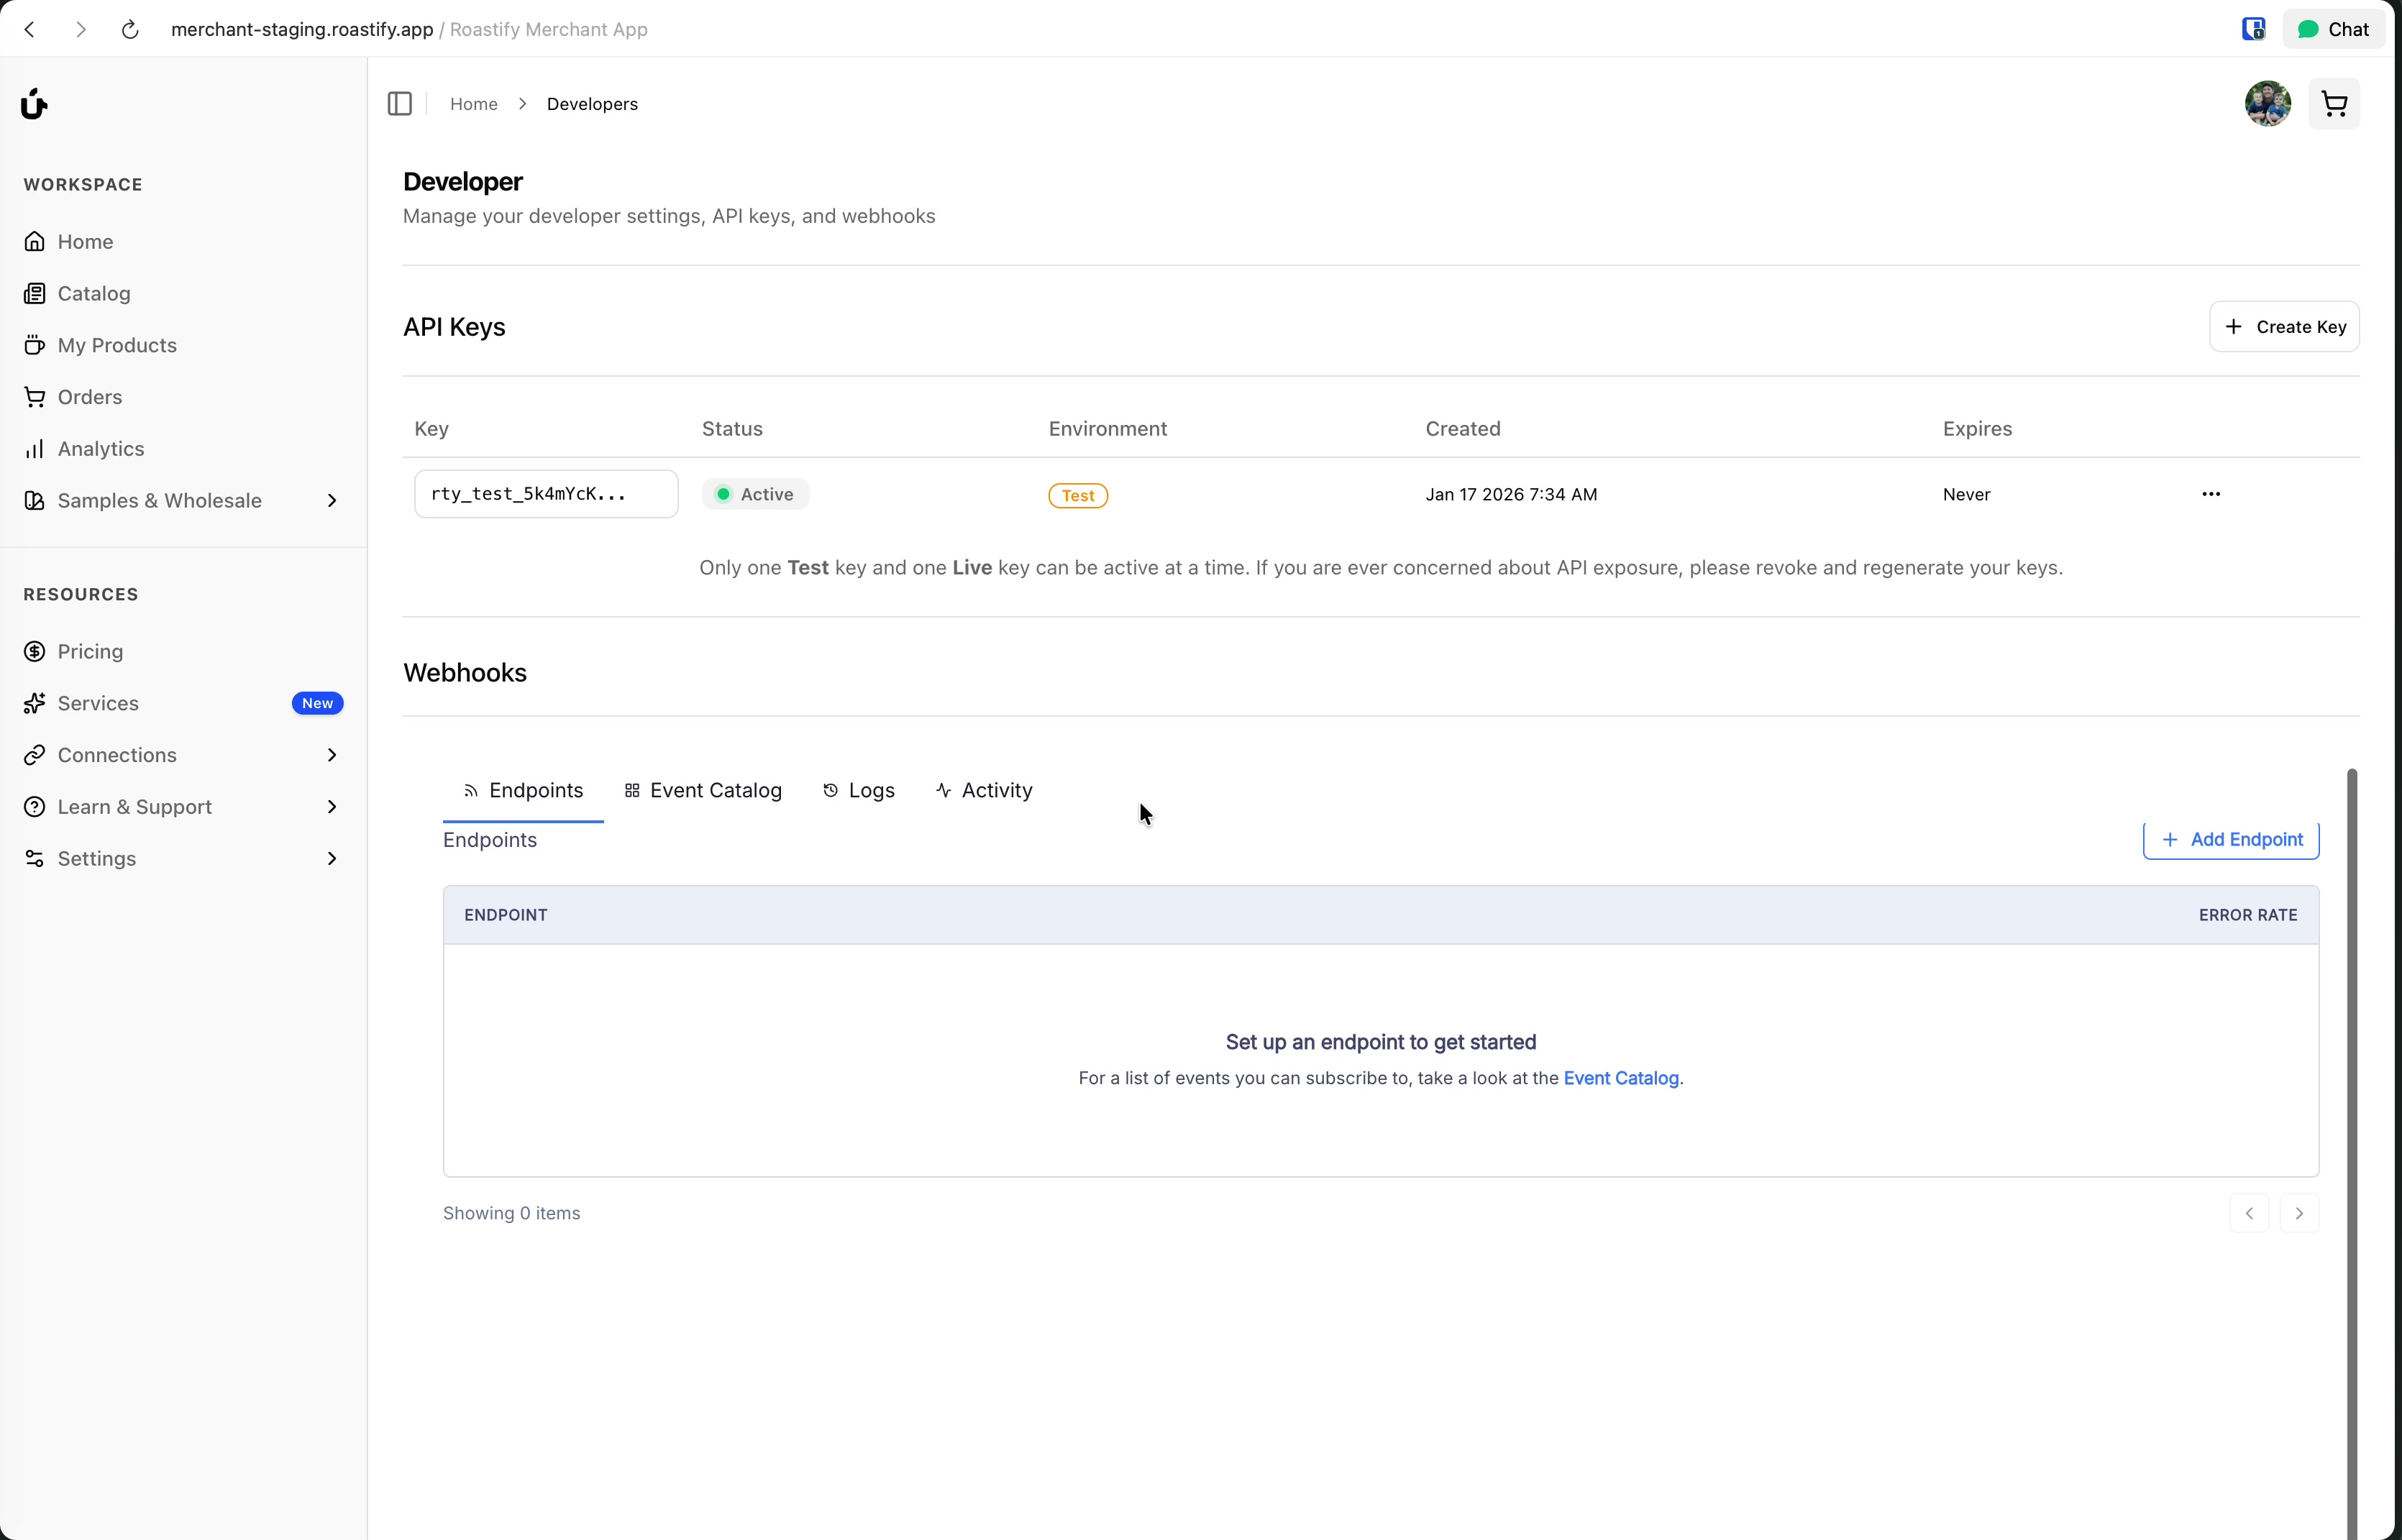
Access the Webhook Portal
Once enabled, you'll have access to the webhook management portal where you can add endpoints, view logs, and test deliveries.
Adding an Endpoint
Click Add Endpoint
In the webhook portal, click to add a new endpoint.
Enter Your Endpoint URL
Provide the URL where you want to receive webhook POST requests.
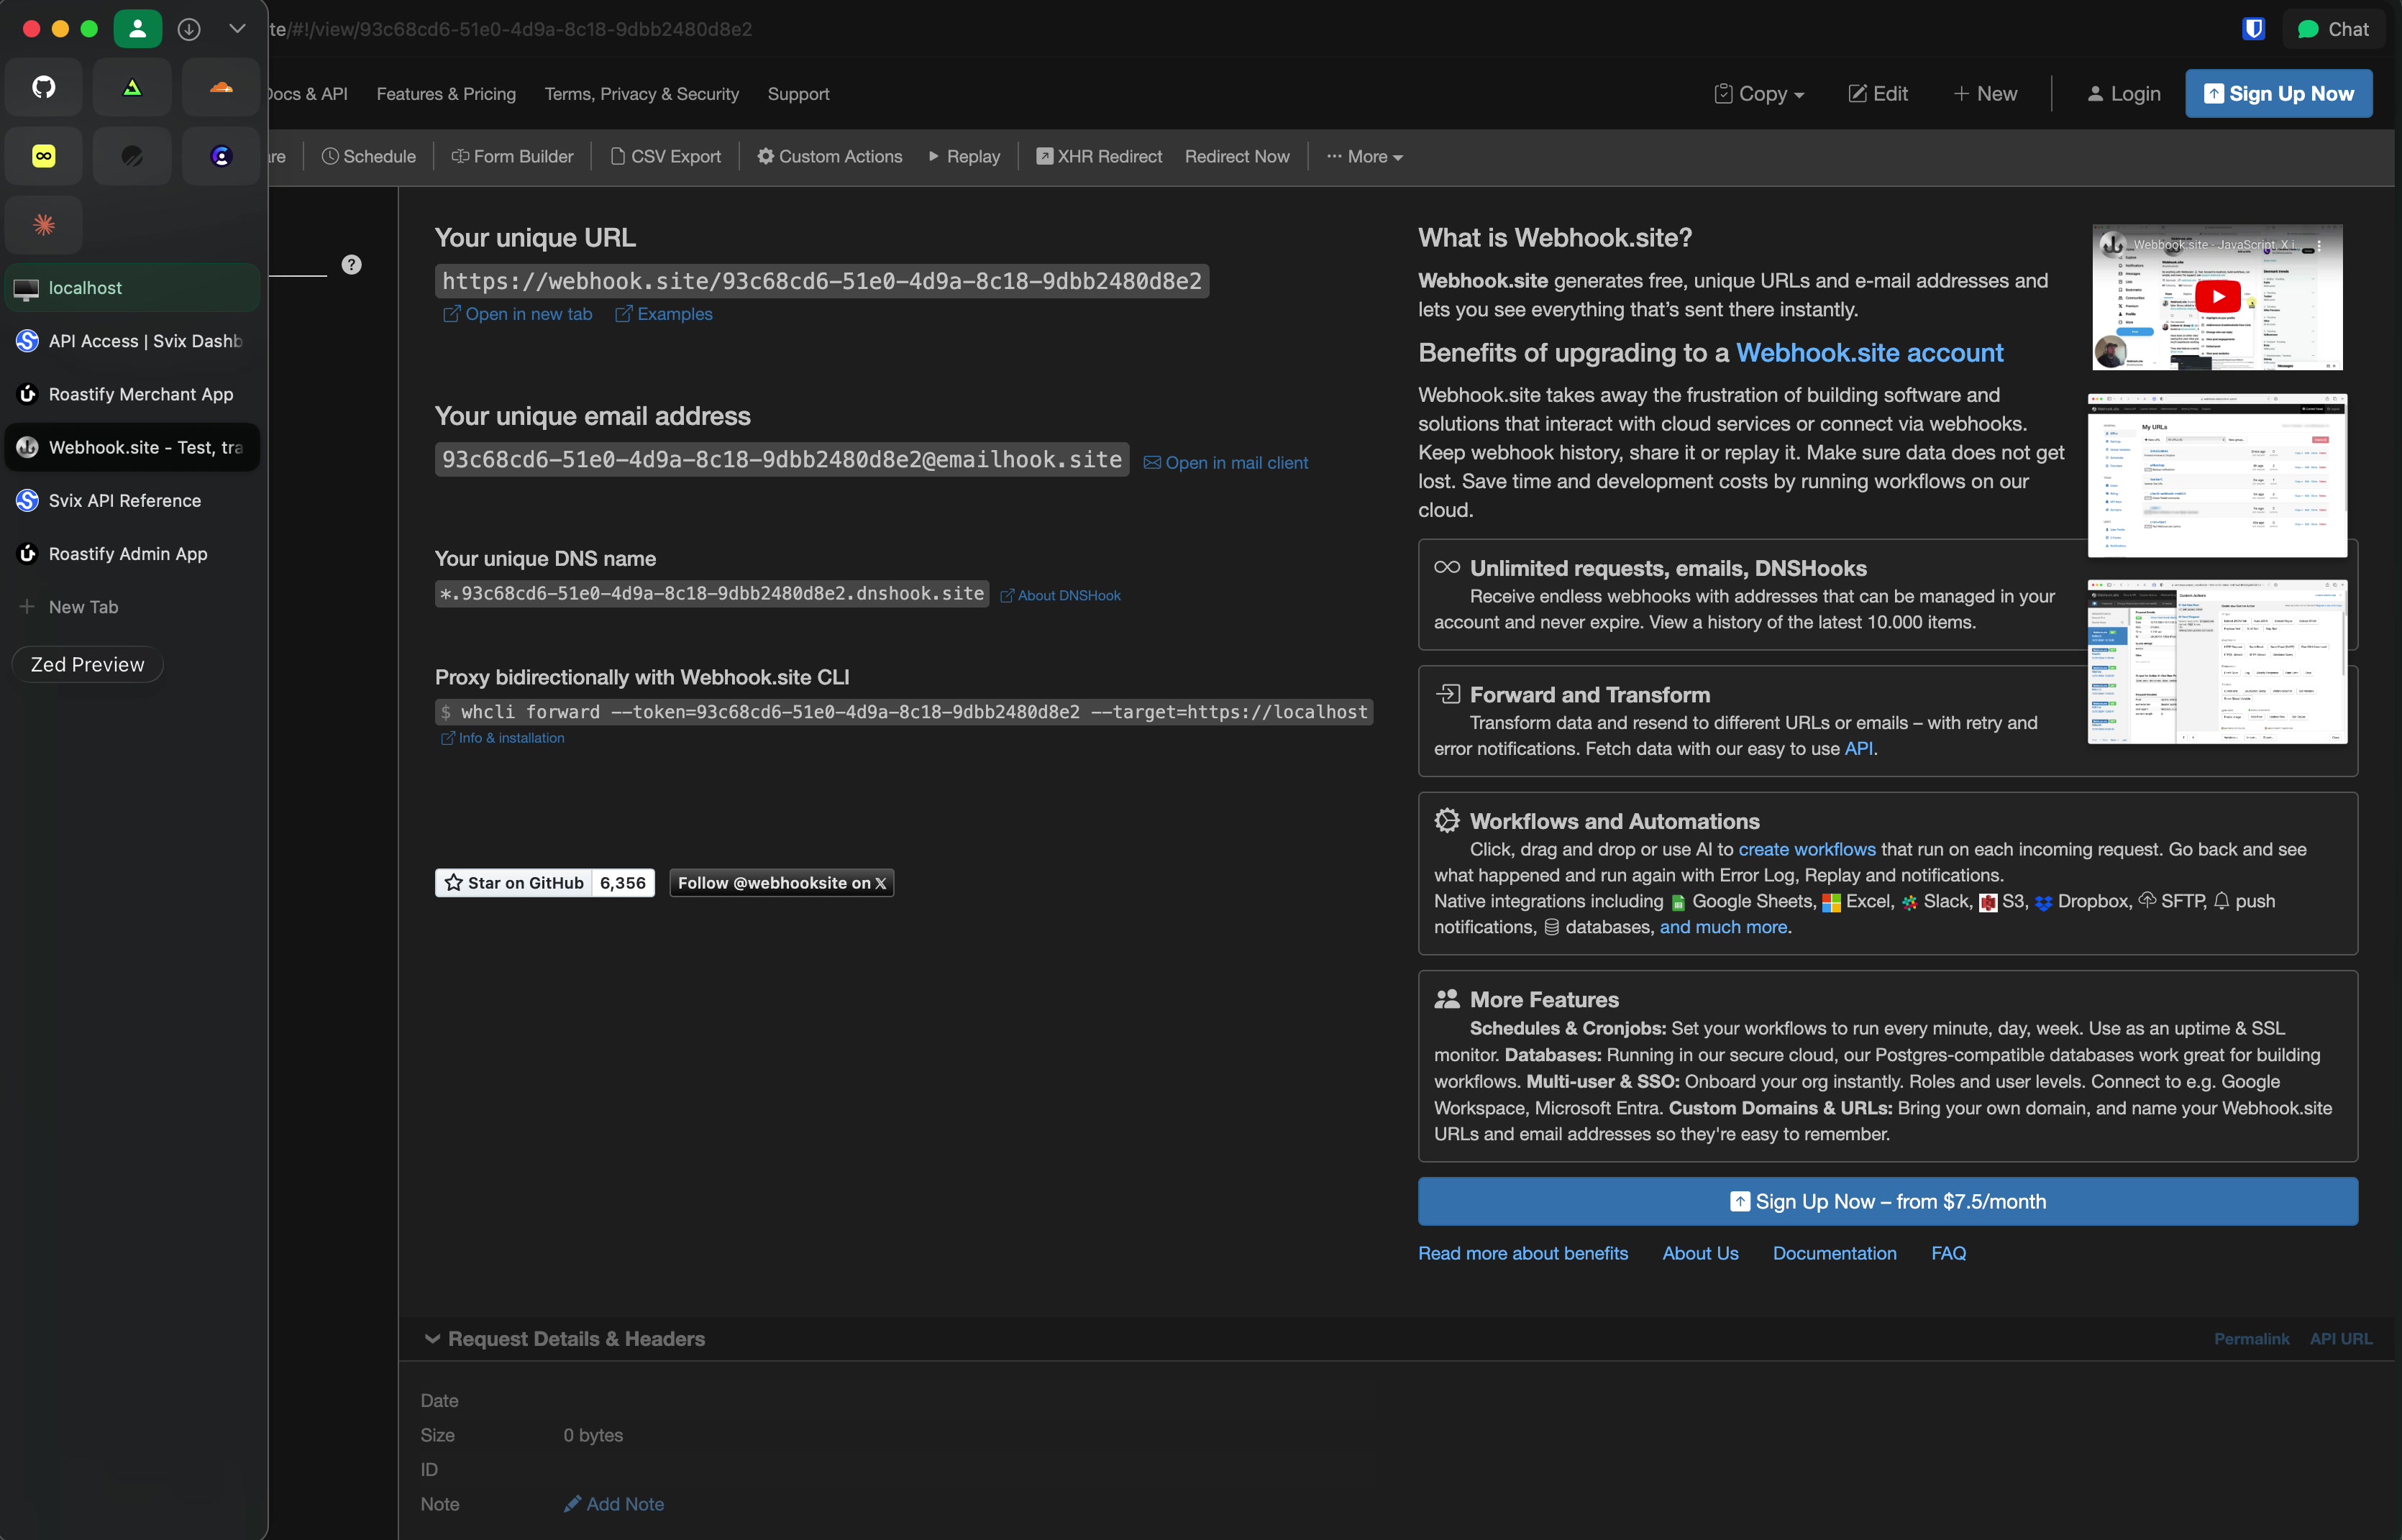
Testing Tip: If your endpoint isn't ready yet, use a service like webhook.site to get a temporary URL that displays incoming requests. This is great for testing and debugging.
Select Events to Subscribe
Choose which events you want to receive notifications for. You can subscribe to all events or select specific ones.

Click Create
Save your endpoint configuration.
Testing Your Webhook
Go to the Testing Tab
Click on your endpoint, then select the Testing tab.
Select an Event Type
Choose an event type to test, such as fulfillment.created.
Send an Example
Click Send Example to send a test webhook to your endpoint.
Verify Receipt
Check your endpoint (e.g., webhook.site) to confirm the webhook was received.
You should see the POST request with the event payload in your webhook testing tool.
Webhook Endpoint Details
After creating an endpoint, you can view its details including subscribed events, delivery stats, and the signing secret.
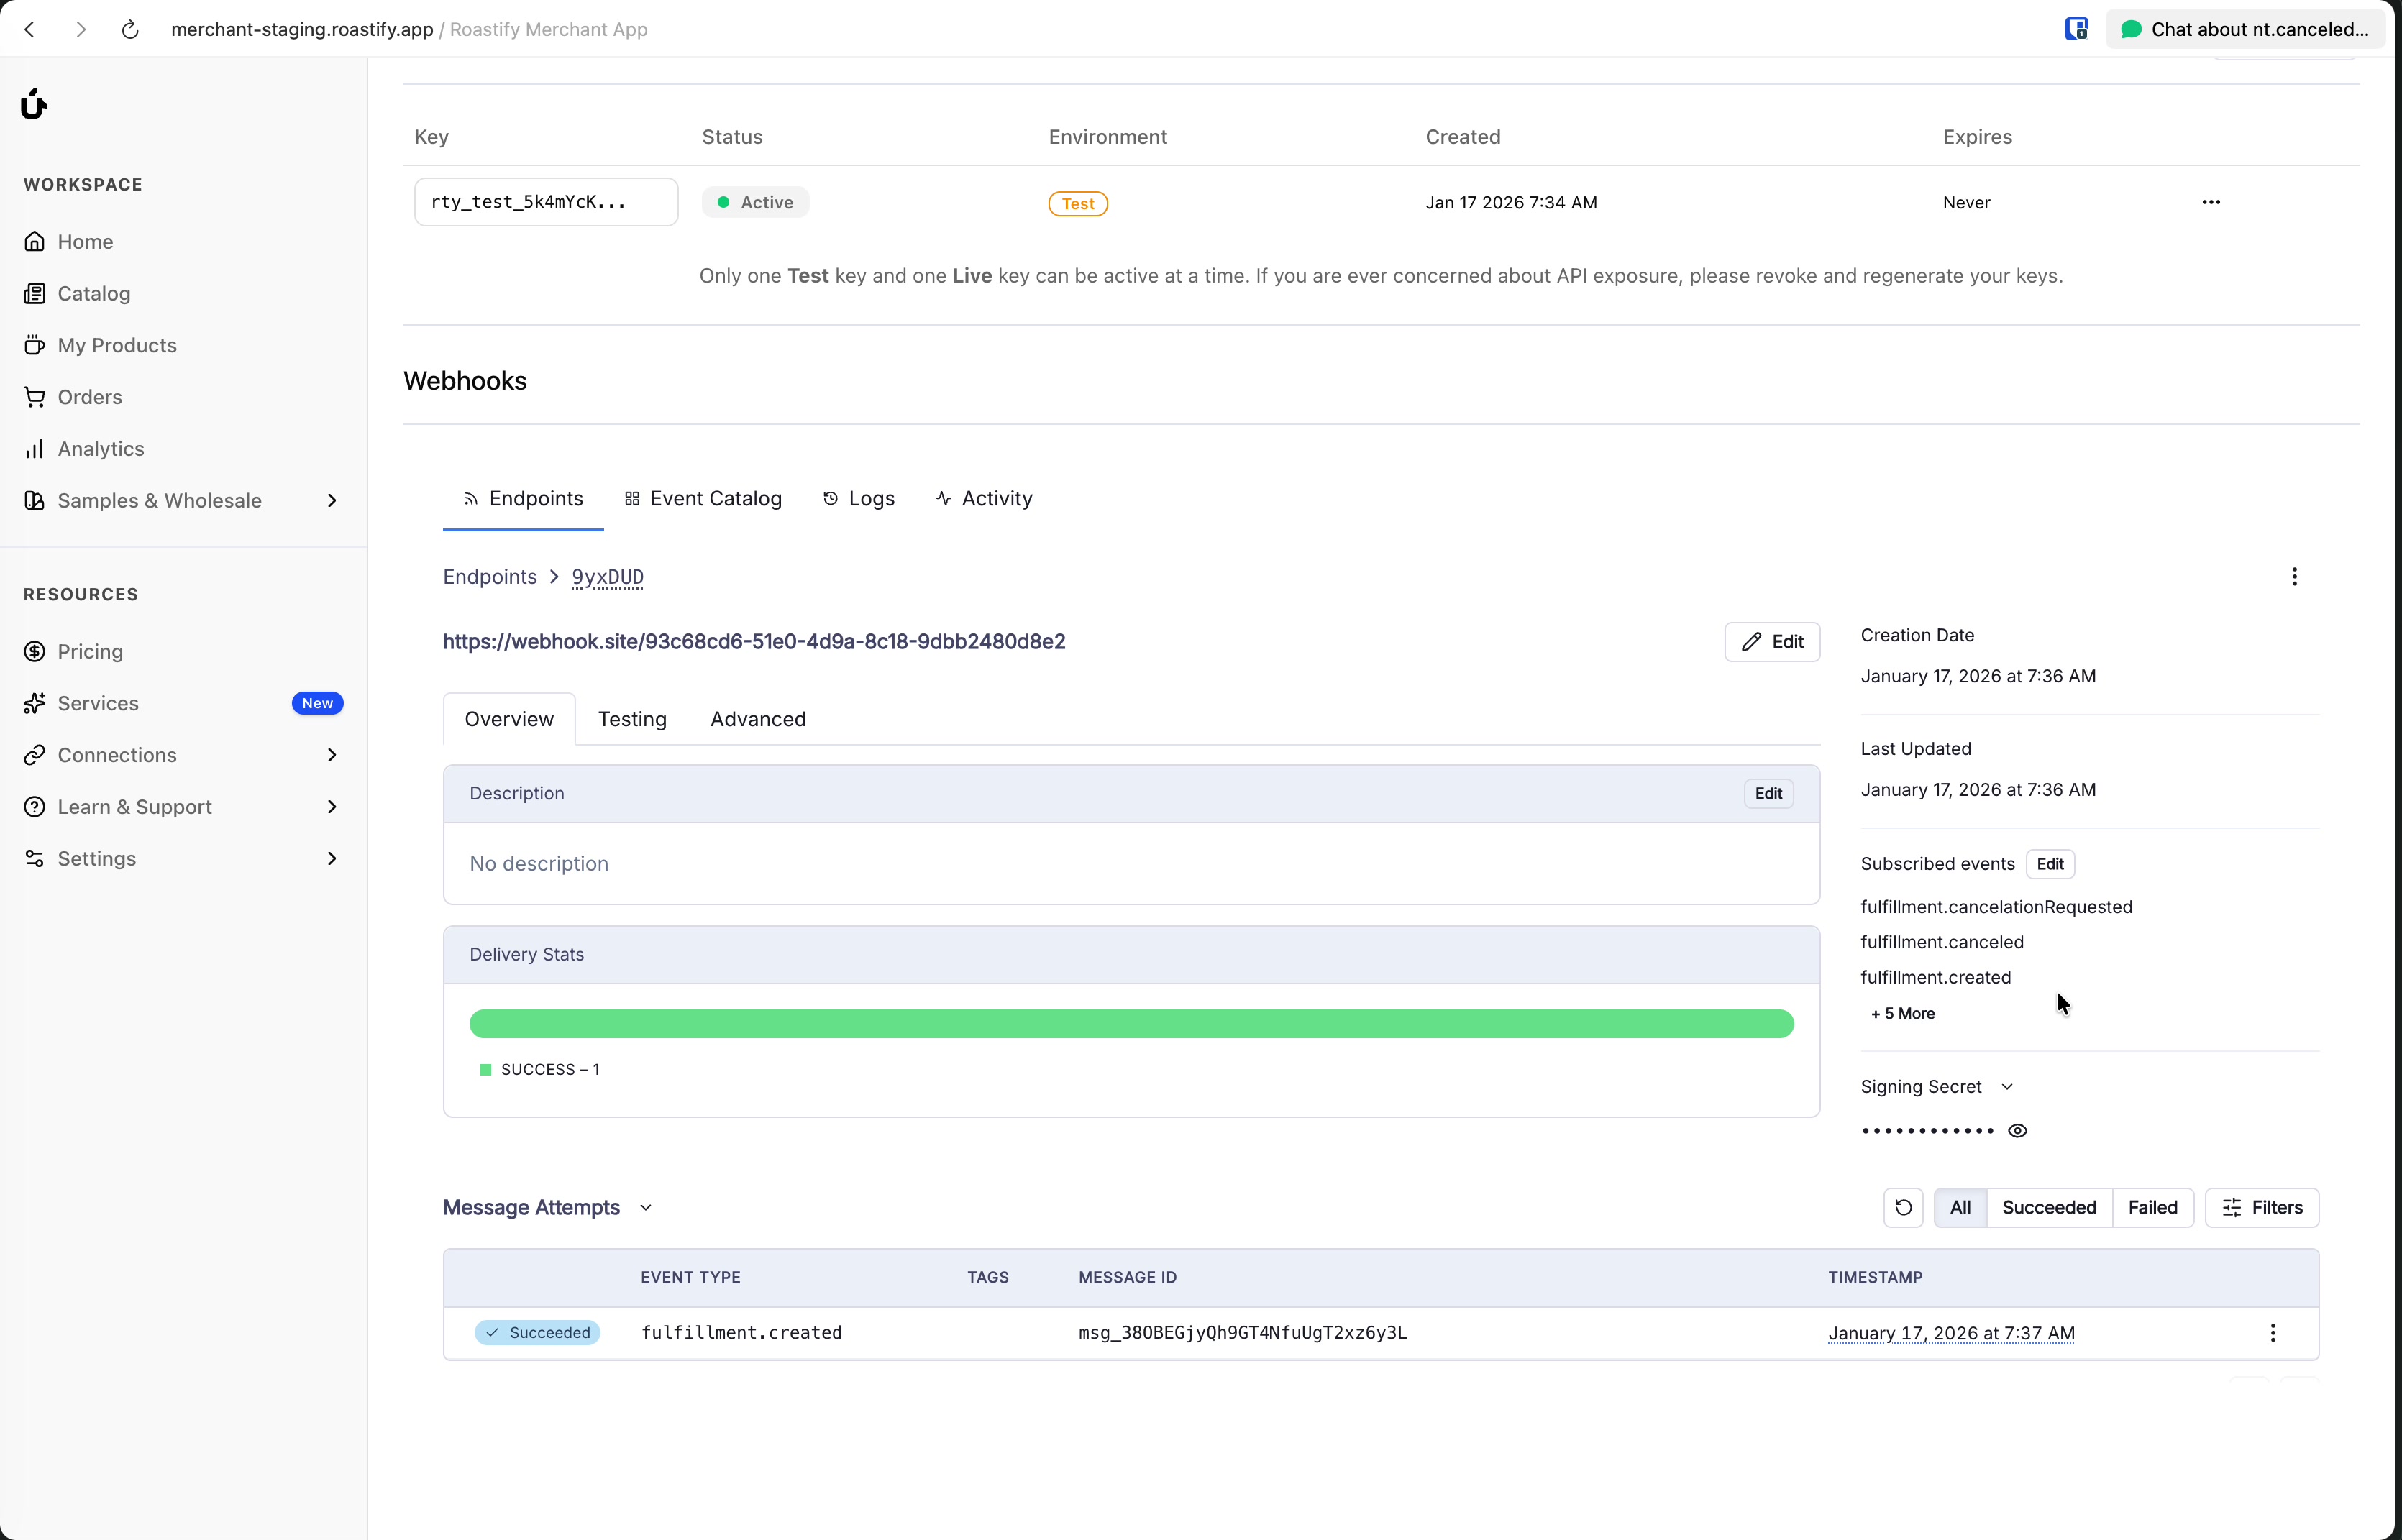
Key information shown:
| Field | Description |
|---|---|
| Endpoint URL | Where webhooks are sent |
| Subscribed Events | Which events trigger notifications |
| Delivery Stats | Success/failure rates for deliveries |
| Signing Secret | Used to verify webhook authenticity |
Webhook Events
Roastify sends the following webhook events related to order fulfillment and tracking:
| Event Type | Description |
|---|---|
fulfillment.created | Sent when a fulfillment is created |
fulfillment.canceled | Sent when a fulfillment is canceled |
fulfillment.cancelation_requested | Sent when a fulfillment cancelation is requested |
fulfillment.declined | Sent when a fulfillment is declined |
fulfillment.packaged | Sent when a fulfillment is packaged |
fulfillment.picked | Sent when a fulfillment is picked |
fulfillment.printed | Sent when a fulfillment is printed |
fulfillment.shipped | Sent when a fulfillment is shipped |
tracking.updated | Sent when tracking information is updated |
Example Payloads
Signature Verification
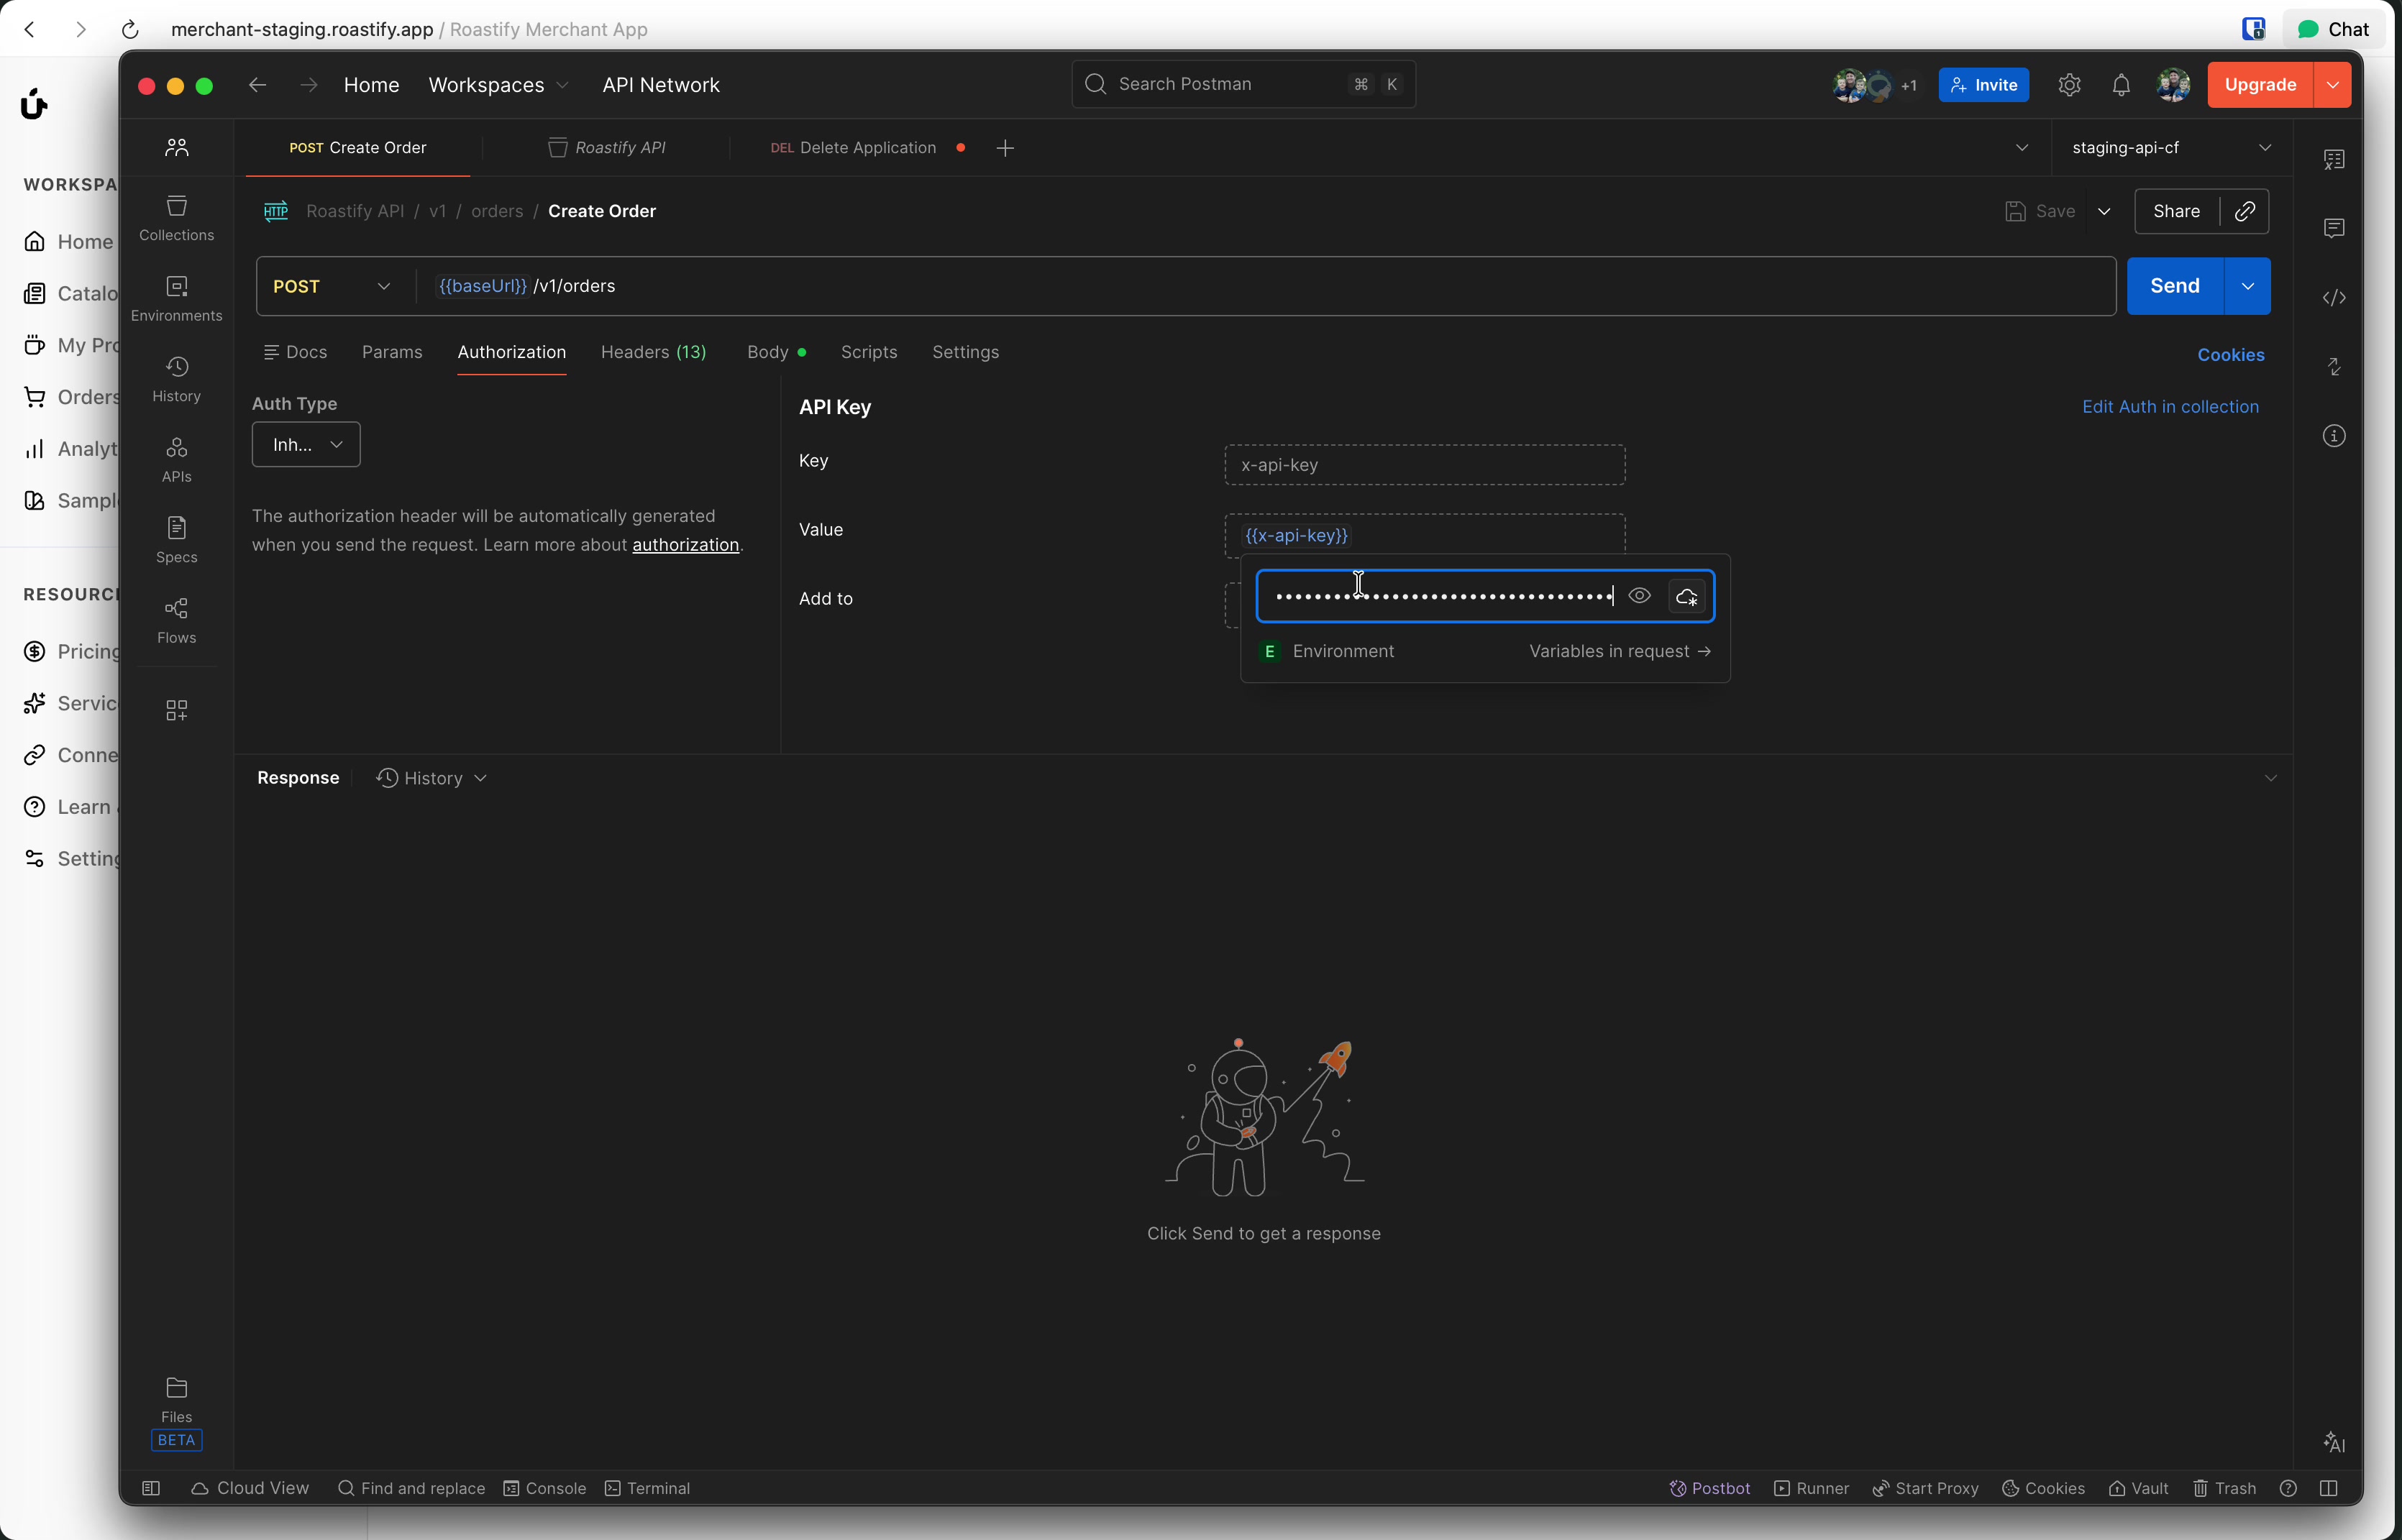
Security Critical: Always verify the signing secret when receiving webhook requests. This ensures you're only accepting events from Roastify and not from malicious sources.
Each endpoint has a unique Signing Secret. Use this secret to verify that incoming webhooks are genuinely from Roastify.
Verification Steps
Get Your Signing Secret
Find the signing secret in your endpoint details in the webhook dashboard.
Verify the Signature
Use the official Svix libraries to verify the signature and timestamp of incoming webhooks. Always use the raw request body for verification.
Process or Reject
Only process webhooks that pass signature verification. Reject any that fail.
Code Example (JavaScript)
import { Webhook } from "svix";

const secret = "whsec_..."; // Your endpoint's signing secret

// Get headers from the incoming request
const headers = {
  "svix-id": req.headers["svix-id"],
  "svix-timestamp": req.headers["svix-timestamp"],
  "svix-signature": req.headers["svix-signature"],
};

// Use the raw request body (not parsed JSON)
const payload = req.body;

const wh = new Webhook(secret);
try {
  const verified = wh.verify(payload, headers);
  // Process the verified webhook payload
  console.log("Webhook verified:", verified);
} catch (err) {
  // Invalid signature - reject the request
  res.status(400).send("Invalid signature");
}
For code samples in other languages, see the Svix signature verification docs.
Retry Schedule
Webhook deliveries are retried automatically using an exponential backoff schedule:
| Attempt | Delay |
|---|---|
| 1 | Immediately |
| 2 | 5 seconds |
| 3 | 5 minutes |
| 4 | 30 minutes |
| 5 | 2 hours |
| 6 | 5 hours |
| 7-8 | 10 hours |
You can also manually retry messages from the dashboard. If an endpoint is removed or disabled, delivery attempts will stop.
Troubleshooting
For more troubleshooting tips, see the Svix troubleshooting guide.
Next Steps
Quickstart
Learn how to use webhooks with the API to build complete integrations. Quickstart →
API Reference
Explore all available API endpoints. API Reference →